
The Ultimate 360 Camera Travel Guide: Capture Every Moment Without Missing a Thing
Meta Description: Master 360-degree photography on your next adventure. Discover optimal camera settings, essential accessories, packing strategies, filming techniques for every scenario, and post-processing workflows that transform raw footage into stunning travel content—without missing a single moment.
Why 360 Cameras Are the Secret Weapon Every Traveler Needs
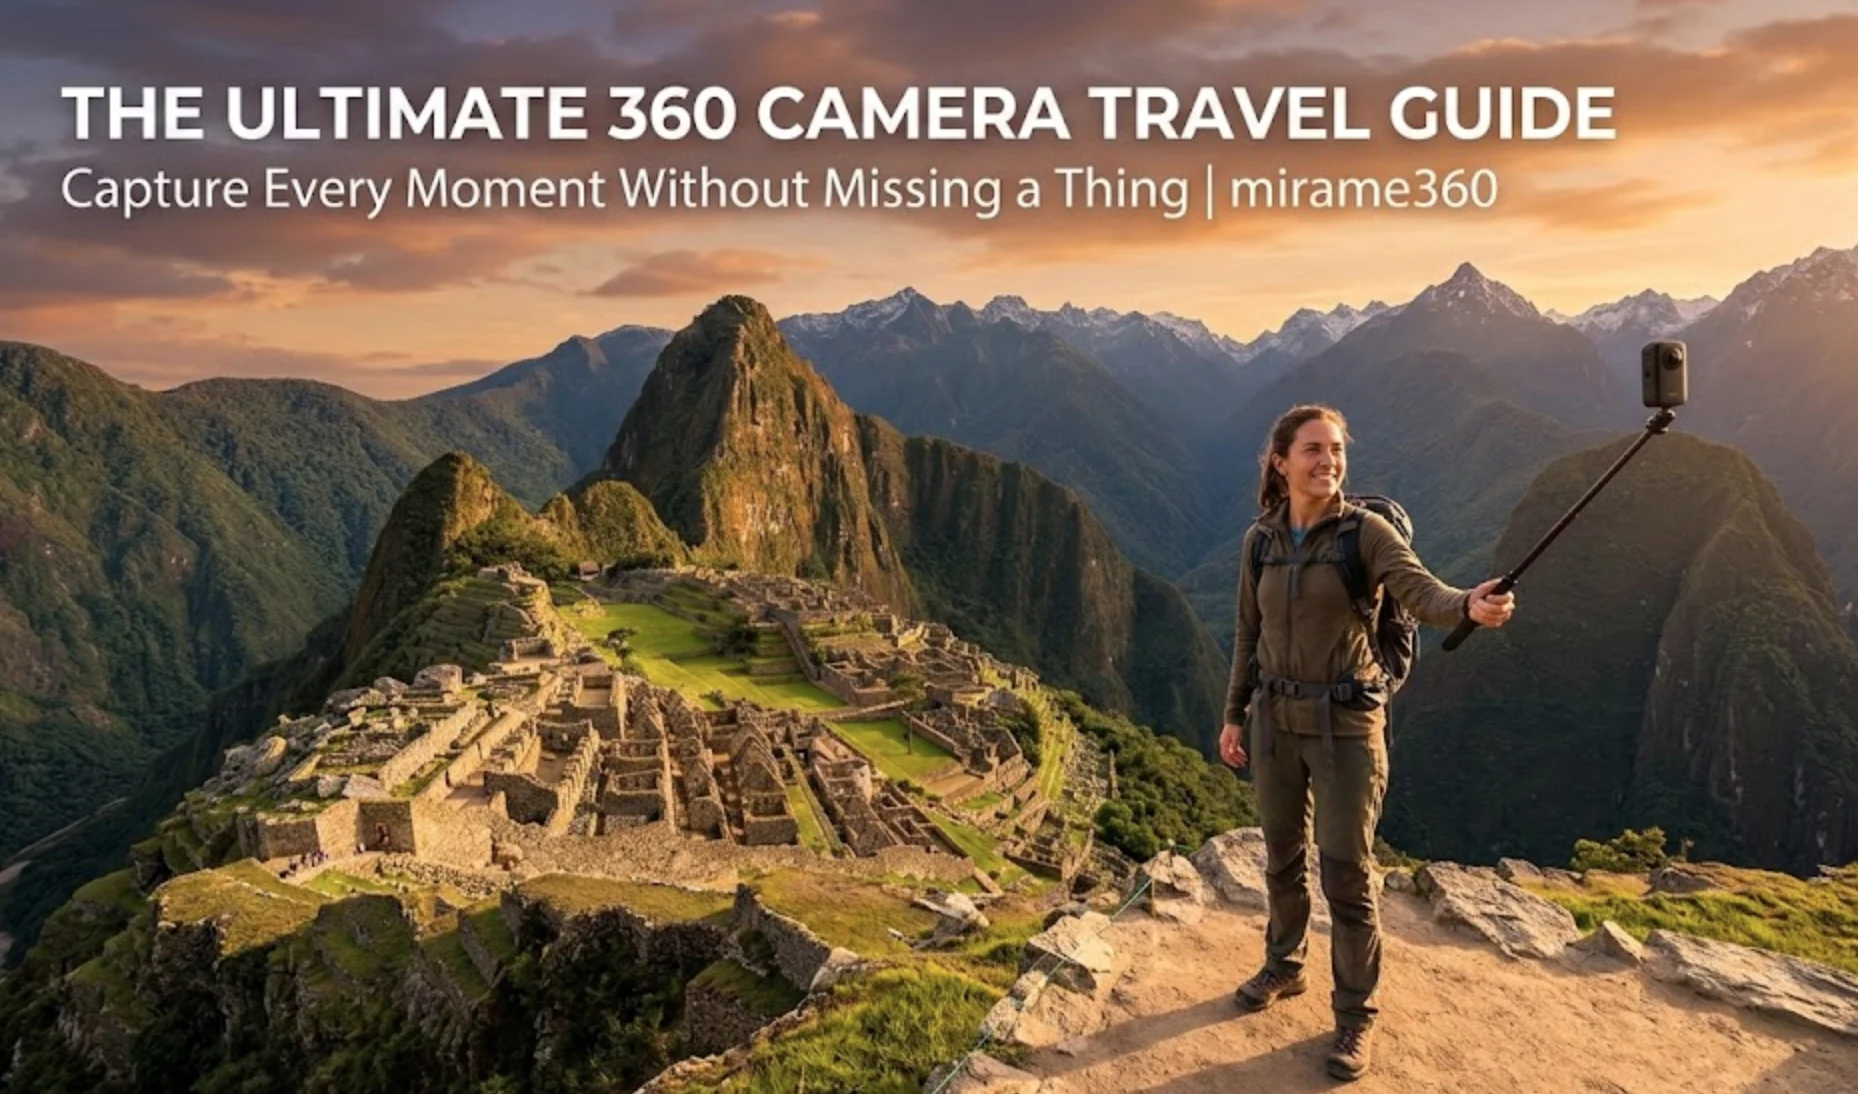
Picture this: you're standing at the edge of Machu Picchu at sunrise. The ancient ruins stretch before you, mist clinging to mountain peaks, and your travel companion is positioned perfectly for a photo. But wait—there's a breathtaking view behind you that won't make the frame. Traditional cameras force you to choose. 360 cameras don't.
The revolutionary advantage of 360-degree cameras lies in their ability to capture everything simultaneously. You shoot first and point later, reframing footage on your phone to find the perfect angle after the moment has passed. This isn't just convenient—it's transformative for travelers who refuse to miss a thing.
Modern 360 cameras like the Insta360 X4 and X5 deliver features that solve classic travel photography problems:
- Invisible selfie stick technology creates third-person perspectives without a drone
- Advanced electronic image stabilization eliminates shaky footage better than many dedicated action cameras
- Level horizon correction keeps videos upright even if the camera rotates completely upside down
- AI-powered auto-framing analyzes footage and suggests the best angles automatically
- Ghost Town templates remove crowds from timelapses at popular tourist destinations
You don't need to create 360-degree content to benefit. The real power is capturing everything around you, then exporting perfectly framed vertical videos for Instagram Reels, horizontal footage for YouTube, or square posts for Facebook—all from a single take.
Optimal Camera Settings: Daylight, Night, and Everything In Between
Getting your settings right transforms good footage into great content. Here's your complete reference for every lighting scenario.
Daylight Shooting
| Setting | Recommendation | Why It Matters |
|---|---|---|
| Resolution | 8K 360° @ 30fps | Maximum detail for landscapes and landmarks |
| Resolution (Action) | 5.7K 360° @ 60fps | Smoother motion for walking tours and activities |
| Exposure | Auto with -0.3 to -0.7 EV compensation | Prevents blown-out skies in bright conditions |
| ISO | 100-400 | Keeps image clean and noise-free |
| White Balance | 5500K or Auto | Accurate colors in natural light |
| Color Profile | Standard | Ready-to-use footage without grading |
Low Light and Night Scenes
| Setting | Recommendation | Why It Matters |
|---|---|---|
| Resolution | 5.7K 360° @ 30fps | Better light sensitivity than 8K mode |
| Night Mode | Enable for static shots | Optimizes exposure for dark environments |
| ISO | Auto (accept higher values) | Captures available light |
| Shutter Speed | Follow 1/2x frame rate rule | 1/60 for 30fps maintains natural motion blur |
| Color Profile | Log/Flat (if color grading) | Preserves dynamic range for post-processing |
Pro Tip: The Golden Hour Advantage
360 cameras struggle more in low light than traditional cameras due to their small sensors. Plan your most important shoots during golden hour—the hour after sunrise and before sunset—when light is abundant but soft. Your footage will look dramatically better with minimal effort.
Must-Have Accessories: From Invisible Selfie Sticks to Lens Protectors
Your 360 camera is capable, but the right accessories unlock its full potential. Here's what belongs in every traveler's kit.
Essential Accessories
Invisible Selfie Stick The cornerstone of 360 photography. The stick falls in the blind spot between the two lenses, making it disappear from footage. This creates impossible angles—aerial shots, third-person perspectives, and sweeping panoramas that look like drone footage without the regulations or expense.
Lens Protectors Those two circular lenses are vulnerable. Lens protectors shield against scratches, fingerprints, and impacts while traveling. They're inexpensive insurance for your most critical components.
Helmet or Backpack Mount Perfect for hiking, skiing, snowboarding, or any hands-free adventure. Mount the camera to capture your perspective without holding anything.
Handlebars Mount Ideal for cycling, motorcycling, or scooter adventures through foreign cities. Secure your camera and let it record the journey.
Compact Tripod Essential for timelapses, long exposures, and stable shots when you want to step into the frame.
Waterproof Case or Dive Housing Most 360 cameras are waterproof to about 10 meters without a case. For serious underwater work or extra protection in rain and sand, invest in a dedicated housing.
Nice-to-Have Additions
- Extra batteries (minimum 2-3 spares)
- Multi-bay charger for simultaneous charging
- Lens cleaning kit with microfiber cloths and lens pen
- Portable SSD for daily backups
- Power bank for charging on the go
Packing Smart: Protecting Your Gear While Staying Ready to Shoot
Travel demands balance: protect your investment without sacrificing accessibility. Here's how to pack like a pro.
The Carry-On Rule
Never check your 360 camera. Lithium batteries are prohibited in checked luggage, and fragile lenses deserve your personal attention. Keep your camera, batteries, and accessories in your carry-on bag.
Packing Checklist
- Hard case with custom foam for the camera body
- Lens caps on at all times when not shooting
- Batteries in individual protective cases to prevent short-circuiting
- Memory cards in a dedicated card holder
- Microfiber cloths in a sealed bag to keep them clean
- Selfie stick collapsed and secured alongside the camera
Accessibility Matters
The best camera is the one you have ready. Pack your 360 camera in an easily accessible pocket of your daypack—not buried under clothes. You have seconds to capture spontaneous moments. Make those seconds count.
Climate Considerations
Moving between air-conditioned hotels and humid tropical streets causes condensation. Store your camera in a sealed bag with silica gel packets when not in use. Let it acclimate before shooting to prevent lens fogging.
Filming Techniques for Every Scenario: Landscapes, Crowds, and Action Sports
Different scenes demand different approaches. Master these techniques and you'll capture immersive content that transports viewers.
Landscapes and Architecture
Technique: Slow, deliberate movement Settings: 8K 360° @ 30fps Approach:
- Mount on a tripod for static shots
- Walk slowly for moving perspectives
- Capture establishing shots from multiple heights
- Use the invisible selfie stick extended overhead for unique angles
- Shoot timelapses at sunrise or sunset for dramatic effect
Crowds and Busy Locations
Technique: Strategic positioning and Ghost Town mode Settings: 5.7K 360° @ 30fps Approach:
- Arrive early or stay late to avoid peak crowds
- Position the camera high using the selfie stick
- Use timelapse mode with Ghost Town template to remove people
- Frame shots to minimize crowd density in key areas
- Capture B-roll of details while waiting for crowd gaps
Action Sports and Adventure
Technique: Hands-free mounting and high frame rates Settings: 4K Single Lens @ 60-100fps or 5.7K 360° @ 60fps Approach:
- Mount to helmet, chest, or equipment for POV footage
- Use single-lens mode for maximum stabilization during intense action
- Shoot longer clips (2-5 minutes) for better editing options
- Enable level horizon to keep footage upright during flips and rotations
- Capture both action and reaction shots
Urban Exploration and Walking Tours
Technique: Continuous recording with varied perspectives Settings: 5.7K 360° @ 30fps Approach:
- Record continuously while walking through neighborhoods
- Lower the camera for ground-level perspectives
- Raise it overhead for crowd navigation shots
- Pause at interesting locations for static captures
- Use Auto Frame in post to create dynamic edited sequences
Post-Processing Made Easy: AI Auto-Frame, Reframing, and One-Tap Edits
The magic of 360 cameras happens twice: once when you shoot, and again when you edit. Modern software makes this surprisingly simple.
The Insta360 App Workflow
Step 1: Import and Organize Transfer footage to your phone or computer. Organize by location or day for efficient editing.
Step 2: AI Auto-Frame Let the AI analyze your footage and suggest the best angles. This feature identifies subjects, tracks movement, and recommends compelling frames—perfect for beginners or quick edits.
Step 3: Manual Reframing Swipe around the 360 footage to find your perfect angle. Set keyframes to create smooth transitions between viewpoints. This is where you craft the narrative.
Step 4: Apply Templates Shot Lab offers one-tap templates for:
- Dolly Zoom – Cinematic depth effects
- Stop Motion – Creative animated sequences
- Clone Trail – Multiple versions of yourself in one shot
- Ghost Town – Remove crowds from timelapses
Step 5: Export for Platform Export vertical (9:16) for TikTok and Reels, horizontal (16:9) for YouTube, or square (1:1) for Facebook posts—all from the same footage.
Desktop vs. Mobile Editing
| Platform | Best For | Limitations |
|---|---|---|
| Mobile App | Quick edits, social media, on-the-go | Limited advanced features |
| Desktop (Insta360 Studio) | Complex projects, color grading, longer videos | Requires file transfer and more time |
7 Common Mistakes That Ruin 360 Footage (And How to Avoid Them)
Learn from others' errors. These mistakes are preventable—and fixing them elevates your content immediately.
1. Dirty Lenses
Problem: Fingerprints and smudges create blurry, hazy footage that's impossible to fix in post. Solution: Clean lenses before every shoot with a microfiber cloth. Keep lens caps on when not recording.
2. Shooting Only in Low Light
Problem: 360 cameras have small sensors and struggle in dim conditions, producing noisy footage. Solution: Plan important shoots during daylight or golden hour. Use Night Mode only when necessary.
3. Not Shooting Long Enough
Problem: Clips that are too short limit editing options and reframing flexibility. Solution: Record 2-5 minute continuous shots. You can always trim later, but you can't extend a clip that doesn't exist.
4. Ignoring the Level Horizon Feature
Problem: Crooked footage looks amateurish and causes viewer discomfort. Solution: Enable level horizon correction. It keeps videos upright even during extreme camera movements.
5. Forgetting Extra Batteries
Problem: 360 cameras drain batteries quickly, especially in 8K mode. Solution: Carry at least 2-3 spare batteries and a portable charger. Charge overnight, every night.
6. Overusing Bullet Time and Effects
Problem: Gimmicky effects become repetitive and distract from the story. Solution: Use special effects sparingly. Let the immersive perspective be the star.
7. Not Backing Up Footage
Problem: Lost or corrupted memory cards mean lost memories forever. Solution: Backup footage daily to a portable SSD or cloud storage. Never travel with only one copy.
Beginner's Quick-Start Checklist: Your First 360 Travel Shoot
Ready to shoot? Follow this checklist for confident, mistake-free results.
Before You Leave Home
- Charge all batteries fully
- Format memory cards in the camera
- Update camera firmware to latest version
- Download and test the companion app
- Pack lens protectors and cleaning cloth
- Practice basic operations (power, record, mode switch)
On Location
- Clean lenses before shooting
- Check battery level (swap if below 50%)
- Verify memory card has space
- Select appropriate mode for the scene
- Enable level horizon and stabilization
- Frame your shot (remember: everything is captured)
- Record for at least 30 seconds minimum
- Review footage before moving on
After Shooting
- Backup footage to secondary storage
- Clean lenses and pack camera properly
- Charge batteries for next day
- Review and flag best clips for editing
Ready to Transform Your Travel Content?
The beauty of 360 photography is this: you never miss the shot. Whether you're navigating crowded markets in Marrakech, summiting peaks in the Andes, or simply wandering unfamiliar streets, your camera captures everything—giving you infinite creative possibilities in post.
Start today: Grab your 360 camera, head outside, and shoot your first 5-minute walk through your neighborhood. Practice reframing in the app. Experiment with the invisible selfie stick. Make mistakes and learn. By the time your next trip arrives, you'll shoot with the confidence of someone who's mastered the secret weapon of modern travel storytelling.
The world is waiting. Capture it all.