
Documentation
How to create a virtual tour
Connect 360° photos into a tour that visitors can explore in their browser. This guide covers uploading panoramas, adding scenes, placing navigation points, and sharing the finished tour.
Screenshots captured on September 8, 2026. The example uses two architectural panoramas from Rome; use your own photos for your tour.
Before you start
You need a Mirame360 account and at least two complete spherical photos to practice scene navigation. A stitched equirectangular JPEG, normally twice as wide as it is tall, is a straightforward starting point. Keep the full sphere intact when exporting.
For file preparation, see the upload guide. A photo tour links fixed viewpoints; it does not automatically create a measured floor plan or a 3D model.
1. Upload your 360° photos
Sign in and open Upload. Select 360° image, choose Browse file, select a panorama, then click Upload. Repeat for each viewpoint and wait for processing to finish in My Media. Preview each photo before using it in a tour.
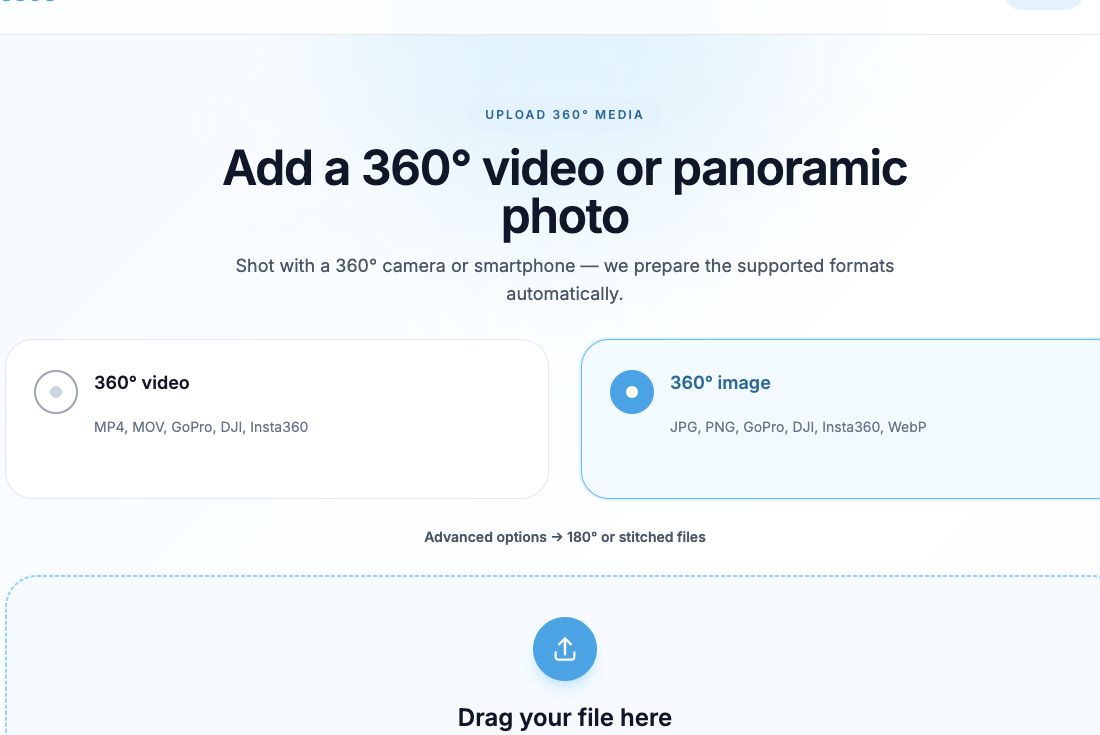
2. Create a tour
From My Media, choose Tours. Enter a name and description in Create a tour, then click Create tour. Open Edit, or choose Add first scene in the empty workspace. Use Details to manage the tour’s presentation and access.
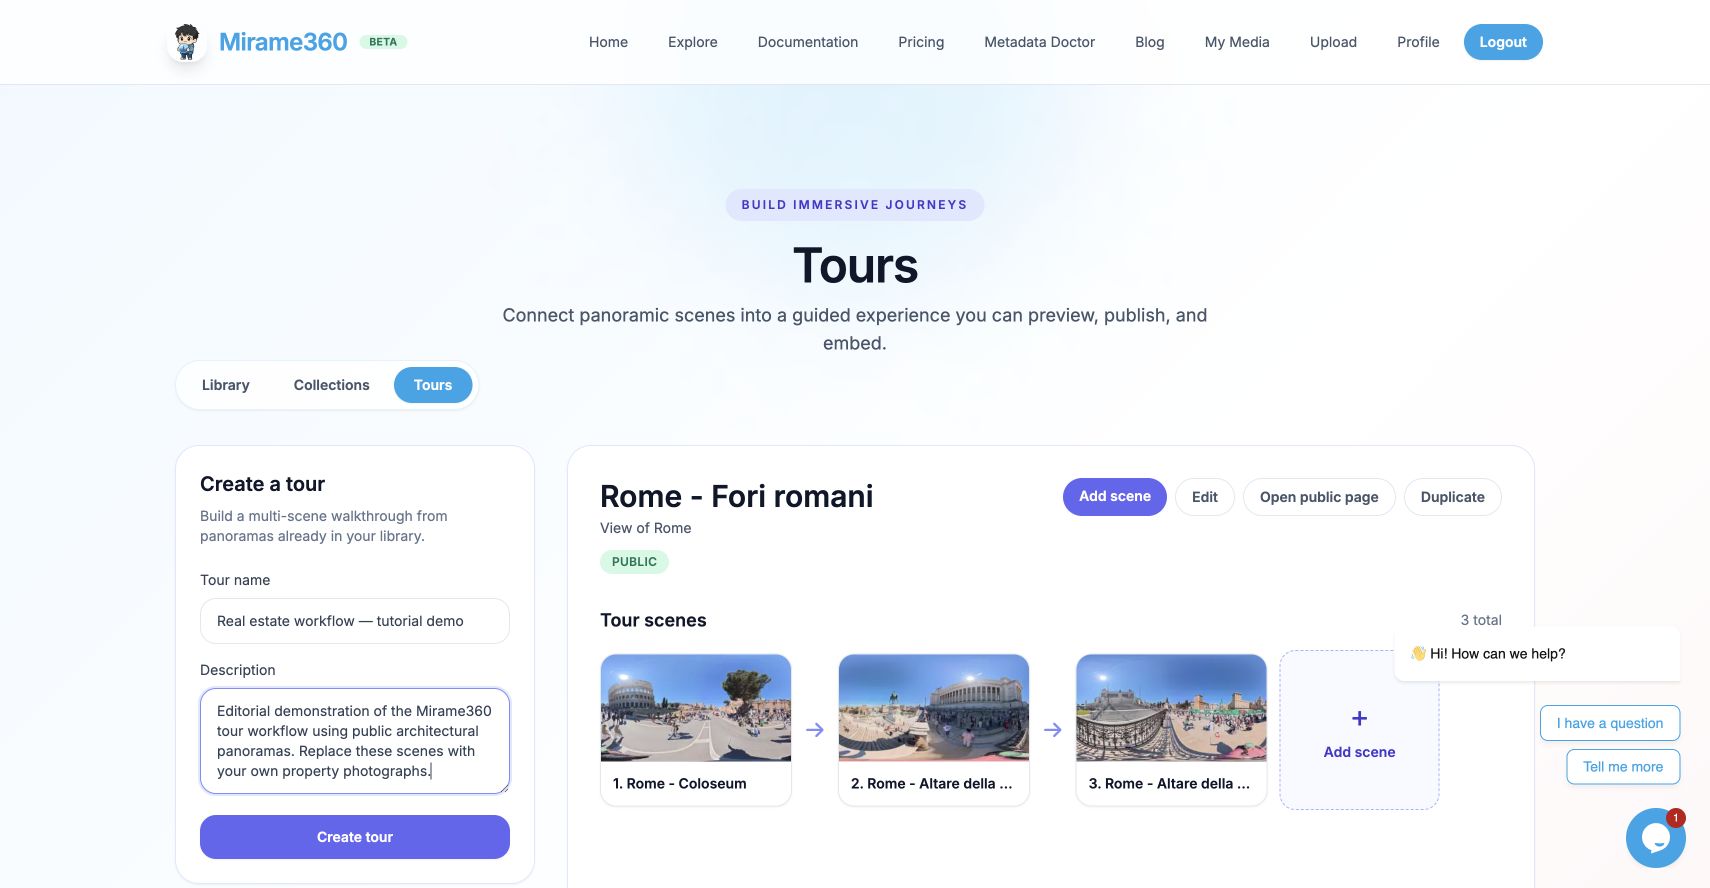
3. Add scenes and set the starting scene
Under Add panorama, select a processed photo from your library and click Add scene. Repeat for the remaining photos. Select a scene to edit its Scene title. Use clear names such as Entrance or Kitchen. Use Up and Down to arrange the list, then choose Set start on the opening panorama and check its START badge. Scene order does not create navigation links.
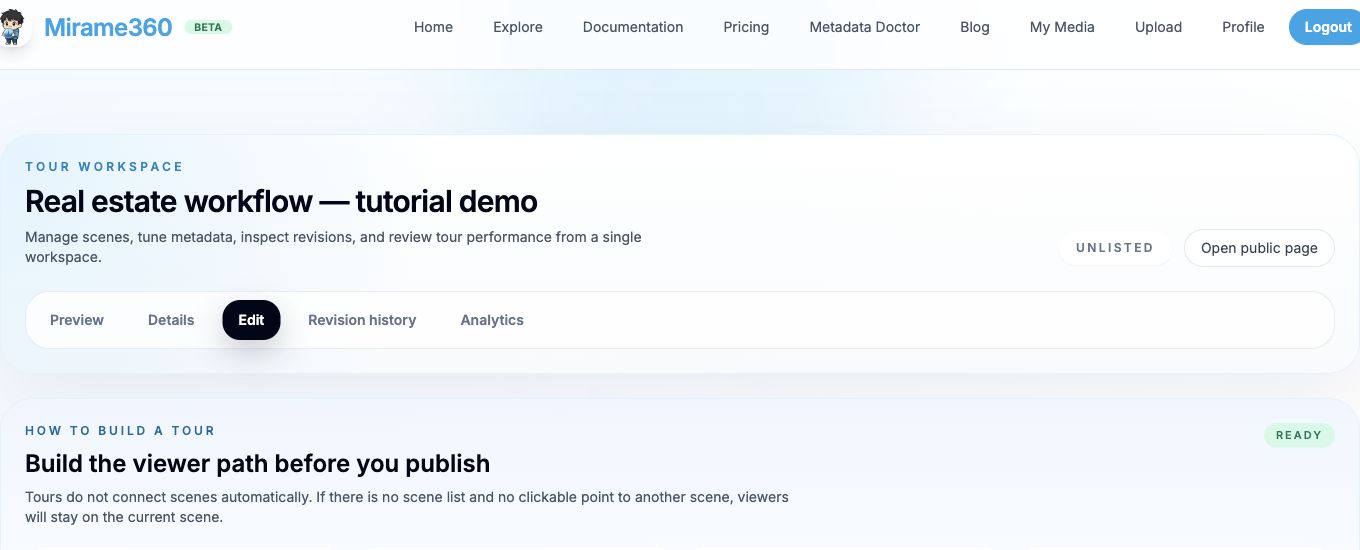
4. Connect scenes with clickable points
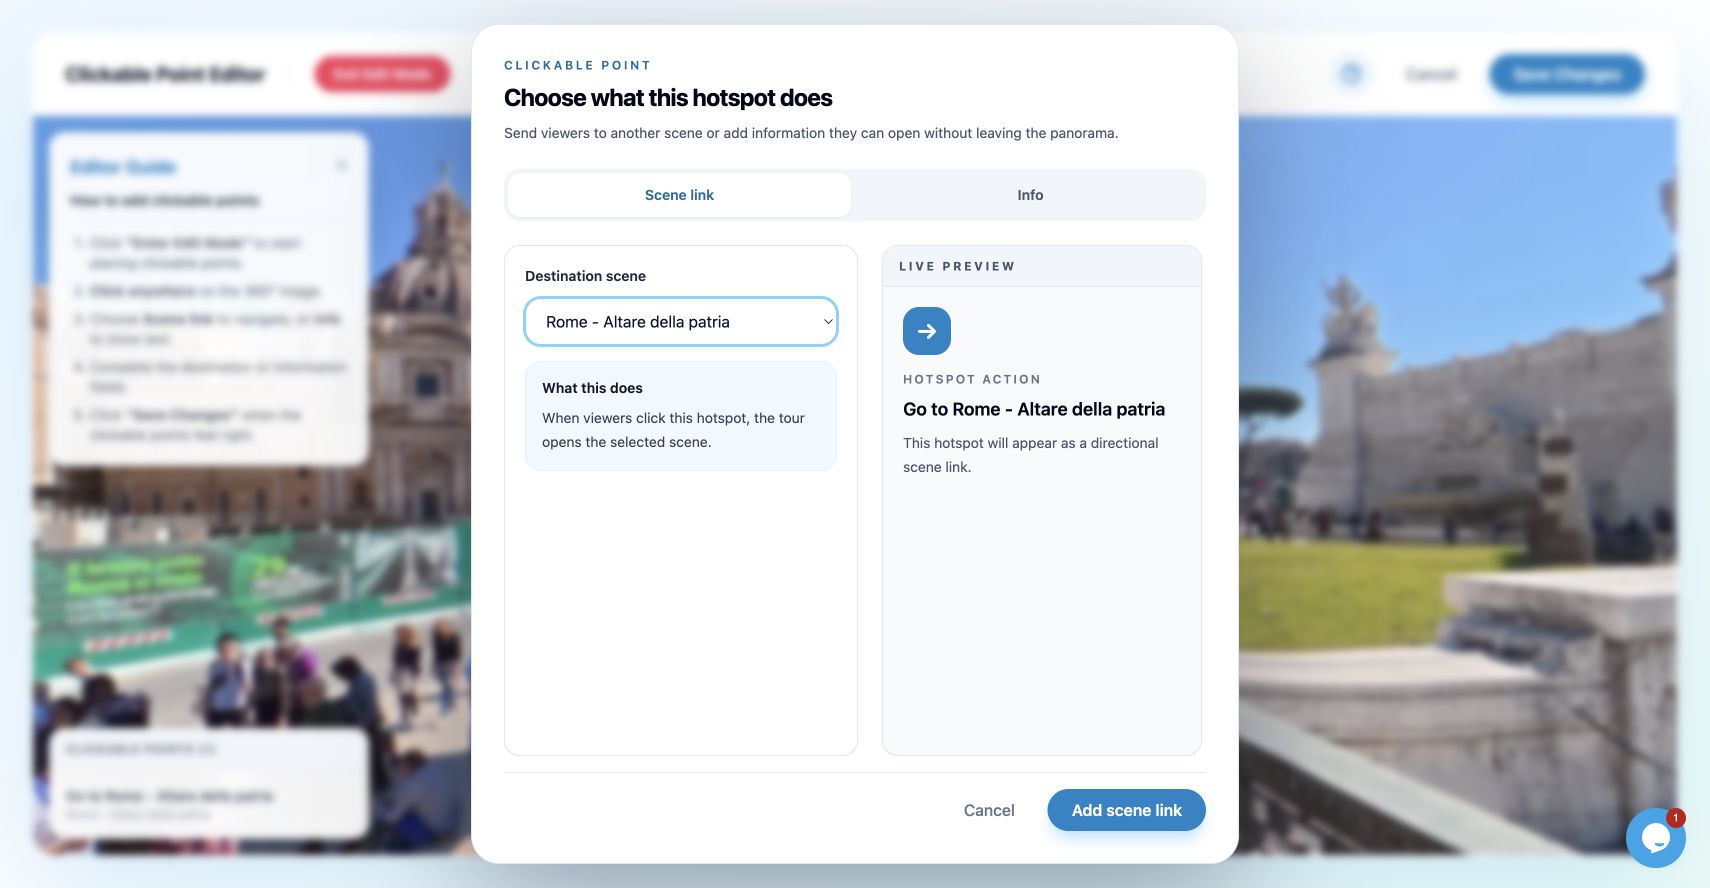
Select a scene and click Place clickable points in its Scene editor. In the Clickable Point Editor, follow the steps below.
- Click Start adding points (or Enter Edit Mode, if shown).
- Click the position for the navigation point, such as the doorway toward the next room.
- Choose Scene link and select the Destination scene.
- Click Add scene link, then Save Changes.
- Open the destination scene and add a return link.
Info points display information instead of changing scenes. Quick links to other scenes can create connections faster; inspect their placement before delivery.
5. Preview and share the tour
Use Preview to check the opening scene and click through every connection in both directions. Wait for saving to finish. In Details, review the title, description, Cover scene, and Tour URL before sharing.
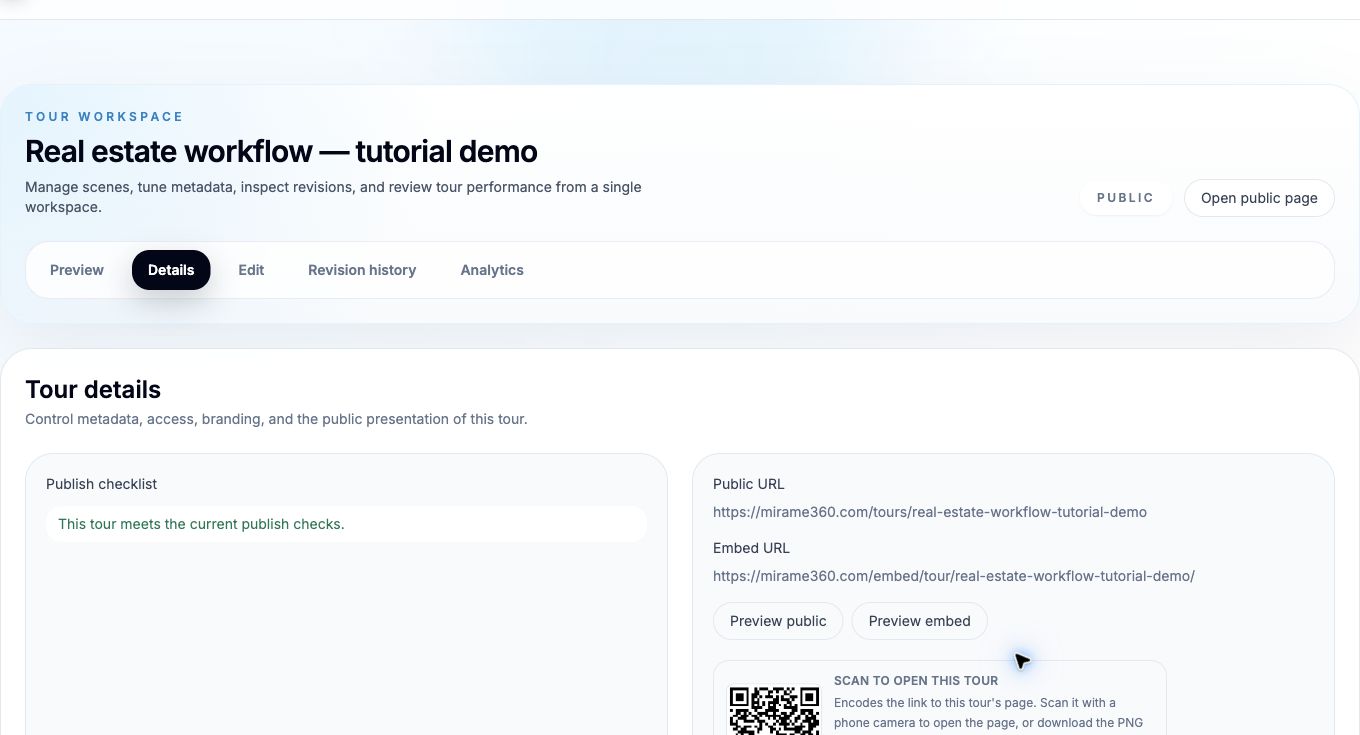
Turn on Public visibility to make the tour available through its viewing link and embed. With this switch off, the tour is only visible to its owner. Review Access: choose open access or configure password protection for your intended audience.
- Public URL: the viewing page to send to visitors.
- Embed URL: the player address for an iframe on your website.
- Download PNG: save a QR code that opens the tour page.
Set the Tour URL before distributing it. For website instructions, see the Embed & Share Guide.
6. Check visitor access
Open the Public URL in a private browser window and on a phone. Check that the opening scene is correct, every intended scene is reachable, and each destination has a way back. If you use password protection, test entering the password as a visitor. Test the website embed too, if you use one.
If something does not work
- A photo is missing: check processing in My Media and confirm you selected it under Add panorama and clicked Add scene.
- No navigation arrow appears: adding scenes does not connect them. Create a Scene link and save changes in the point editor.
- A link opens the wrong scene: check its Destination scene, save, and preview again.
- The tour works only while signed in: review Public visibility and Access in Details. A copied URL alone does not enable access.