
Documentation
Guide to uploading, sharing, and building 360° tours
Whether you are sharing stitched panoramas, immersive videos, or a multi-scene virtual tour, these steps cover the current Mirame360 workflow from upload to live public page and embed.
Watch: upload a 360° video in about three minutes
The video follows the steps below, from logging in to copying the link and the embed code, and explains what the Make this video public switch does. Prefer to read? The same walkthrough with screenshots is in How to Upload a 360° Video to Mirame360.
1. Prepare your account
- Create a free Mirame360 account and sign in. There is no activation email to confirm.
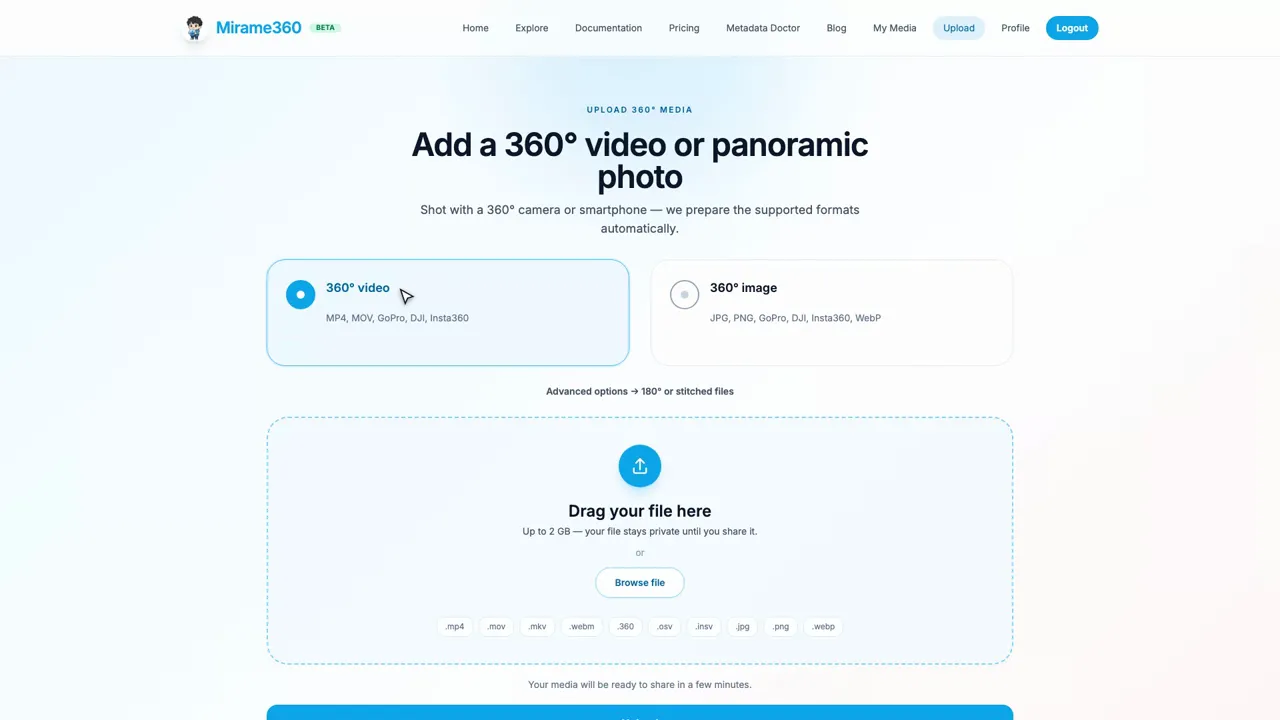
- Visit the Upload tab from the navigation once you are signed in.
- Videos can be up to 2 GB (10 GB for accounts created before October 2026) and 30 minutes long; smaller files process faster. The Upload page shows your exact limit.
2. Upload options
A. 360° & VR videos
- Select Video as the media type.
- Drag an MP4, MOV, MKV, WebM, GoPro
.360, DJI.osv, or Insta360.insvfile into the uploader. - Add an optional title, description, and tags so you can find it later.
- Submit the form—encoding jobs start immediately and you can track progress in the processing log.
Tip: leave the tab open during uploads, but you can close it once encoding begins.
B. Panoramic photos & stitching
- Choose Image as the media type.
- Upload a single equirectangular panorama (JPG/PNG/WEBP/TIFF) or enable the stitch option to combine 3–10 overlapping photos.
- Set the image variant (360° full sphere or 180° half dome) so the viewer selects the right projection.
- Submit to kick off OpenCV stitching and moderation checks.
Stitching converts your source shots into one seamless panorama before hosting.
Not sure which export to choose? Use the 360 camera directory to check native formats, companion files, and the documented workflow for your model.
3. Review, publish, and share
Once the status moves to Done, open the media detail page to access analytics, download links, and embed tools. From there you can:
- Toggle the Embed enabled switch to control iframe access.
- Copy ready-made iframe snippets (4K, 2K, or 1080p) or generate custom dimension embeds.
- Create human-friendly share URLs with Embed aliases.
- Monitor view analytics, including top embed hosts and the last 20 playback events.
For a complete embedding guide, visit the Embed & Share documentation.
4. Build a virtual tour
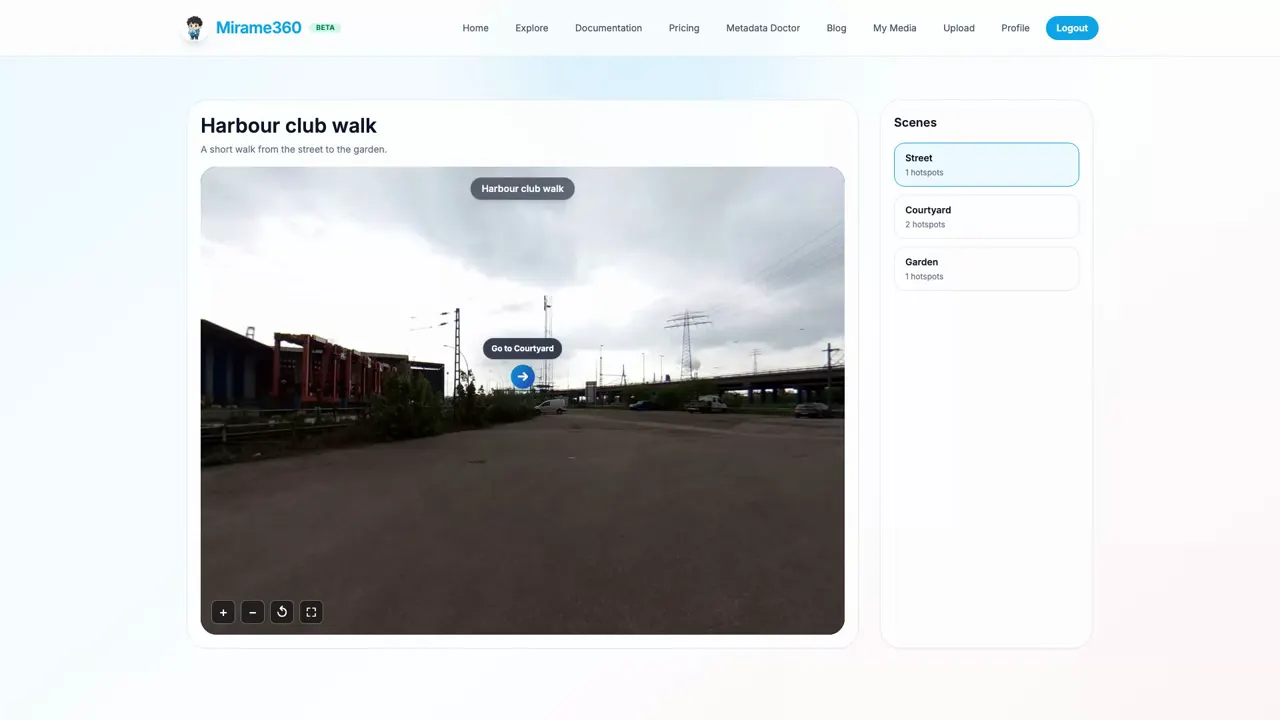
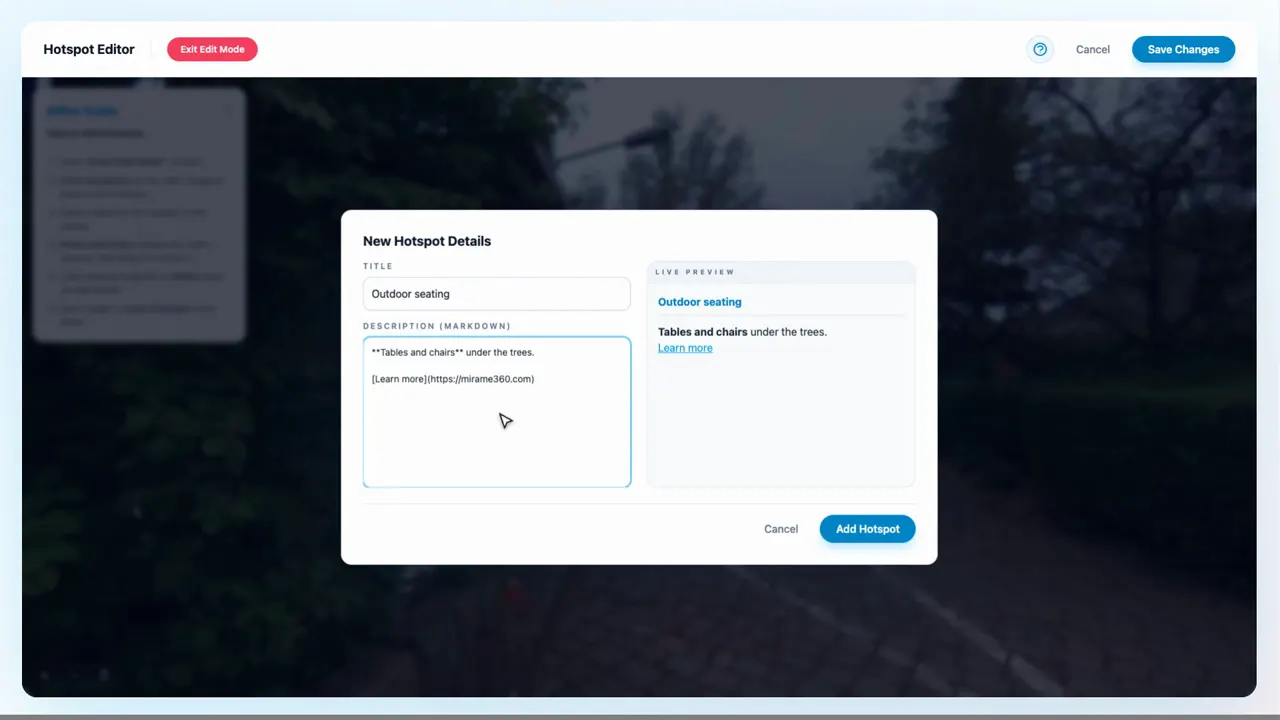
Follow the virtual tour guide with screenshots for scene setup, navigation points, and visitor access.
A. Tour workspace basics
- Create a tour, then use the Details tab for title, status, access, branding, and embed layout.
- Use the Edit tab to add panoramas as scenes, reorder them, and choose the first scene viewers should open.
- Use Revision history to inspect what changed and restore an older version if needed.
- Use Analytics after publishing to review views and engagement.
B. Connect scenes so the tour is usable
- Add at least two scenes in the Edit tab.
- Open Place clickable points on a scene to add a connector.
- Choose the destination scene. Scene connectors use an arrow icon and move viewers to another panorama.
- If you do not add connectors, viewers can still move between scenes only if Show scene list is enabled in Details.
Important: scenes are not connected automatically. A multi-scene tour needs either scene connectors or the scene list turned on.
5. Troubleshooting checklist
Upload stalls
- Confirm the browser tab stays active until you reach 100%.
- Large files benefit from a wired connection; otherwise use the ingest API with resumable chunks.
- Videos over 30 minutes or over your size limit (2 GB, or 10 GB for older accounts) are rejected—trim or compress them first.
Player looks warped
- Verify the media type was set correctly (video vs image) before uploading.
- Ensure panoramas are equirectangular (2:1 ratio) or use the stitch workflow.
- If an equirectangular JPEG, PNG, WebP, MP4, or MOV appears flat, check for missing spherical metadata before uploading.
- For GoPro footage, keep the original metadata; we auto-detect
.360binaries.
Tour feels stuck on one scene
- Open the Edit tab and confirm the tour has more than one scene.
- Add a clickable point and set it to Go to another scene if you want in-panorama navigation.
- Or open Details and enable Show scene list so viewers can switch scenes from the sidebar.
- Set the tour status to Unlisted or Public before opening the public page or embed.
Need more help?
Reach our team at info.mirame360@gmail.com for walkthroughs, ingest automation tips, or to request a live demo.
All video tutorials
Short, step-by-step videos for each part of Mirame360. They are also on our YouTube channel.
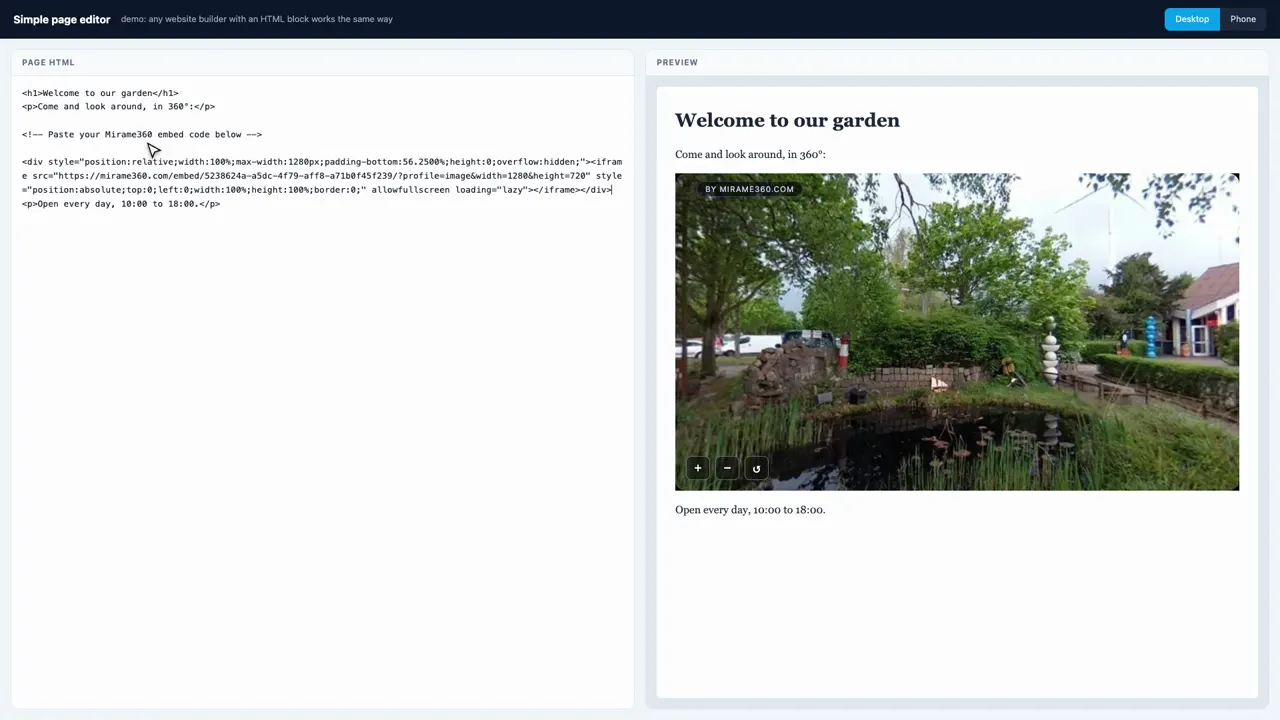
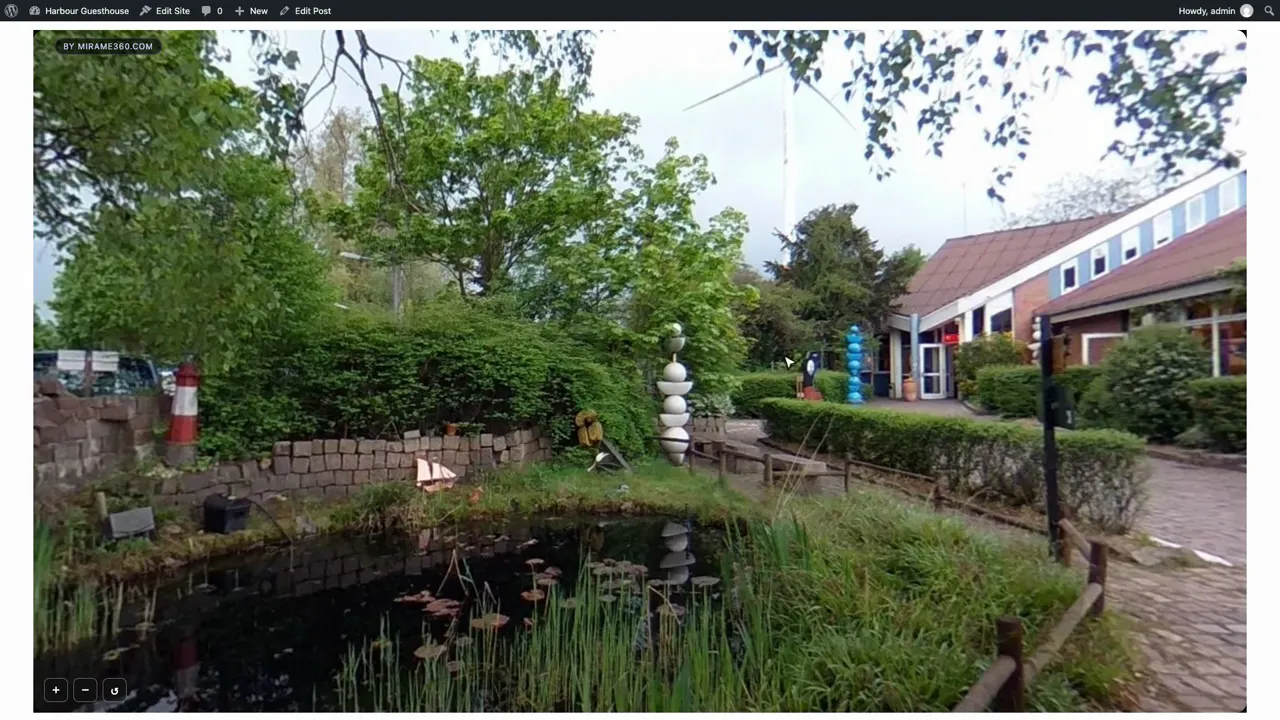
How to Add a 360 Photo or Video to WordPress (Free Plugin, No Code)
1:55 · YouTube
Read the embed guide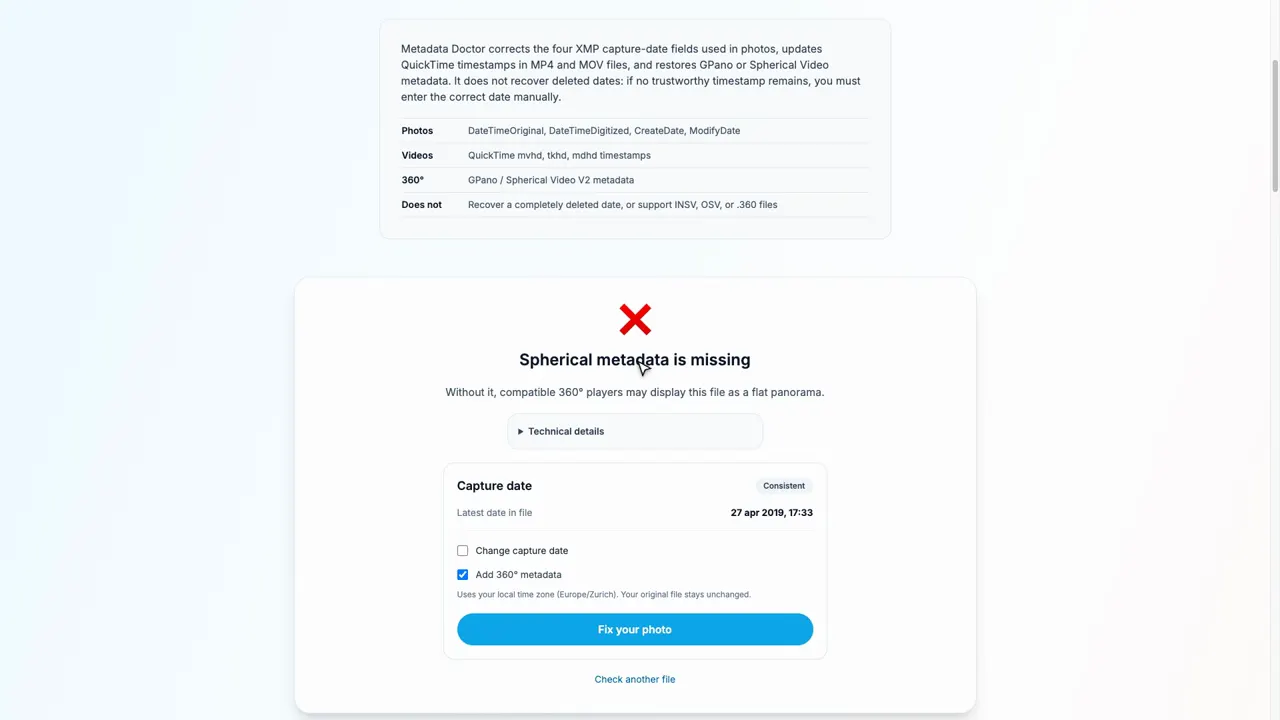
Fix a Flat 360 Video or Photo and Its Wrong Date (Free, in Your Browser)
3:00 · YouTube
Read the guide