A 360 photo can capture the whole room and still need a little attention before you share it. Perhaps the shadows feel heavy, the color looks too cold, or the tripod is the first thing you notice when you look down.
You can edit a full panoramic photo online with the free Mirame360 360° Photo Editor. Open an exported panorama on your desktop, adjust the light and color, make local changes with the brush, add graphics or soften the tripod area, then download a new JPEG with 360 metadata. The public editor works on your device and doesn't require an account.
This guide walks through the actual controls, with screenshots from the live tool. Start with one photo and one change; you don't need to use every panel to get a useful result.
Cover and screenshot photo: Soissons Cathedral Interior by DAVID ILIFF, CC BY-SA 3.0. The source was resized for this demonstration. Screenshot views and photographic edits are adaptations shared under the same license.
Before you open the 360 photo editor
Use a finished, stitched panorama rather than an unprocessed camera original. The editor accepts JPEG, PNG and WebP files containing a full equirectangular image, with a width twice its height. For example, an 8192 × 4096 panorama has the right shape.
If you're starting with a camera file that still needs stitching or conversion, export a full panoramic photo through your camera's software first. Choose the whole scene rather than a reframed view or a screenshot. Resizing an ordinary photograph to 2:1 won't supply the missing directions.
Open the editor on a desktop or laptop with a mouse. Phones, tablets and small windows show a notice asking you to use desktop. Larger photos need more memory, so give the browser time to prepare the preview.
Once your photo opens, close the short introduction with Start editing. Drag to look around and scroll to zoom. Right-drag moves the view in every tool, which is especially useful when the left mouse button is being used for a brush or an image handle.
Start with light and color
The Filters panel is a sensible place to begin. You can adjust the whole panorama while looking at it as an immersive scene, rather than trying to judge everything from a stretched rectangle.
Try a preset if you'd like a starting point. The options are Vivid, Warm, Interior, Real estate and B&W. In the example below, the Interior preset changes several settings together; you can then adjust them individually.
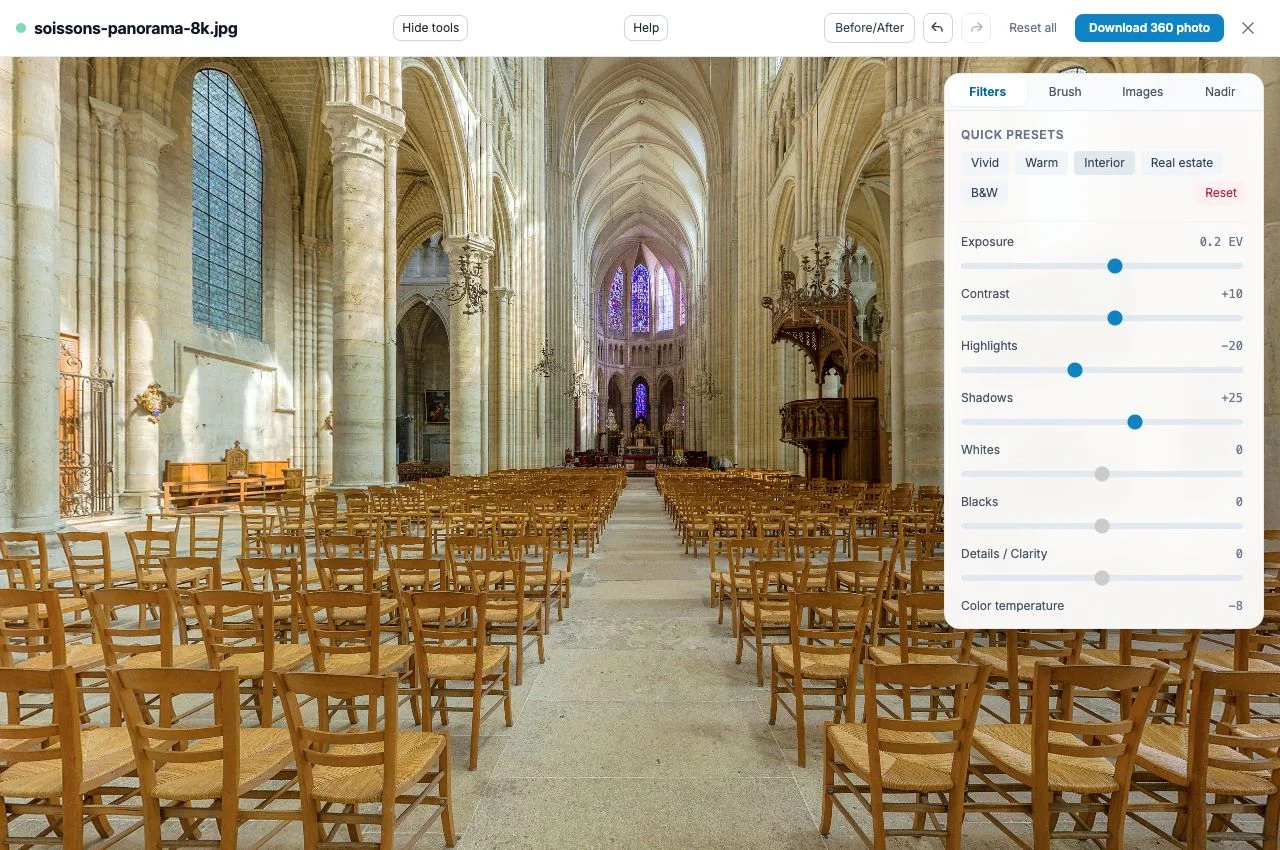
Live editor screenshot with the Interior preset applied. Photo: DAVID ILIFF, CC BY-SA 3.0, adapted.
For a dark room, look at Shadows before lifting the whole image. Exposure changes the overall brightness, while shadow and highlight controls let you work on different parts of the tonal range. Keep an eye on windows and bright walls as you make the room lighter.
Color temperature and tint help when the scene feels too blue, yellow, green or magenta. Saturation, detail and sharpness controls are there too, but a small adjustment is often enough. Hold Before/After to check whether the change helps the photo or simply makes it more dramatic.
Check the horizon as you look around
The Filters panel also includes Horizon leveling (Roll). Use it when the scene appears tilted, then look around the panorama again. A view that looks level in one direction is only part of the check.
Don't worry about getting everything right on the first attempt. Undo and Redo let you compare alternatives, and the Filters Reset button gives you a way back from the color adjustments.
Use the brush when only one area needs attention
Sometimes the overall photo looks right and one patch doesn't. That's when the Brush is more useful than changing the whole scene again.
Choose Lighten (Dodge) or Darken (Burn) for a local brightness adjustment. Saturate and Desaturate work on local color, while Paint applies the color you select.
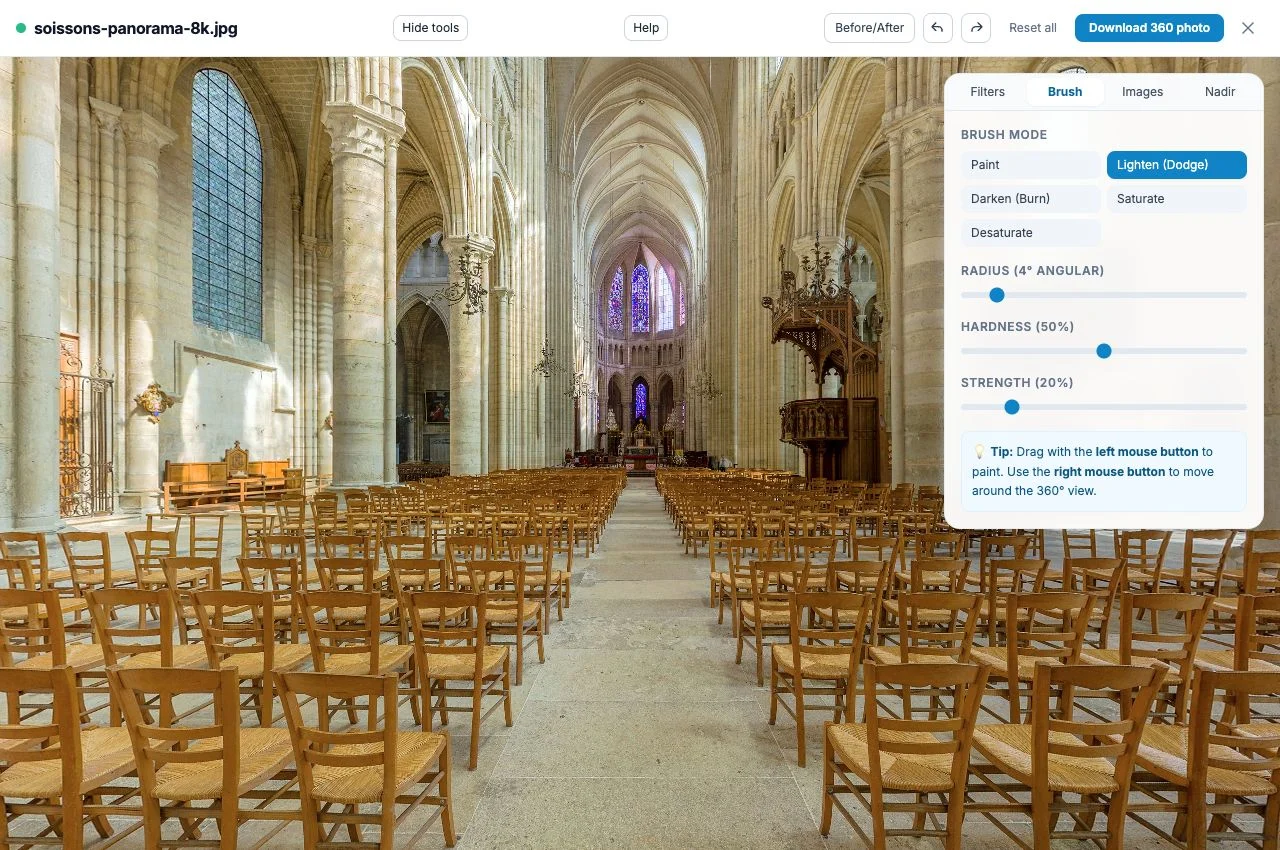
The Brush controls with Lighten selected; this screenshot shows the settings, not a before-and-after result. Photo: DAVID ILIFF, CC BY-SA 3.0, adapted view.
Radius changes the size of the brush, hardness changes its edge and strength changes its intensity. Start gently and check after a short stroke. Repeated passes can build up quickly, so Undo is useful if an area becomes too bright or loses its natural texture.
Left-drag applies the brush. Right-drag lets you look elsewhere without painting a line across the scene. This small distinction makes it much easier to move between areas while retouching.
Add a logo or another image
Open Images and choose Add image (PNG, JPEG, WebP). A transparent PNG is useful for a logo because its background won't cover the photograph around it.
The new image appears in the center of your current view. Drag its center handle to move it, use the corners to resize it, and adjust rotation or opacity in the panel. The handle menu also offers a Perspective mode.
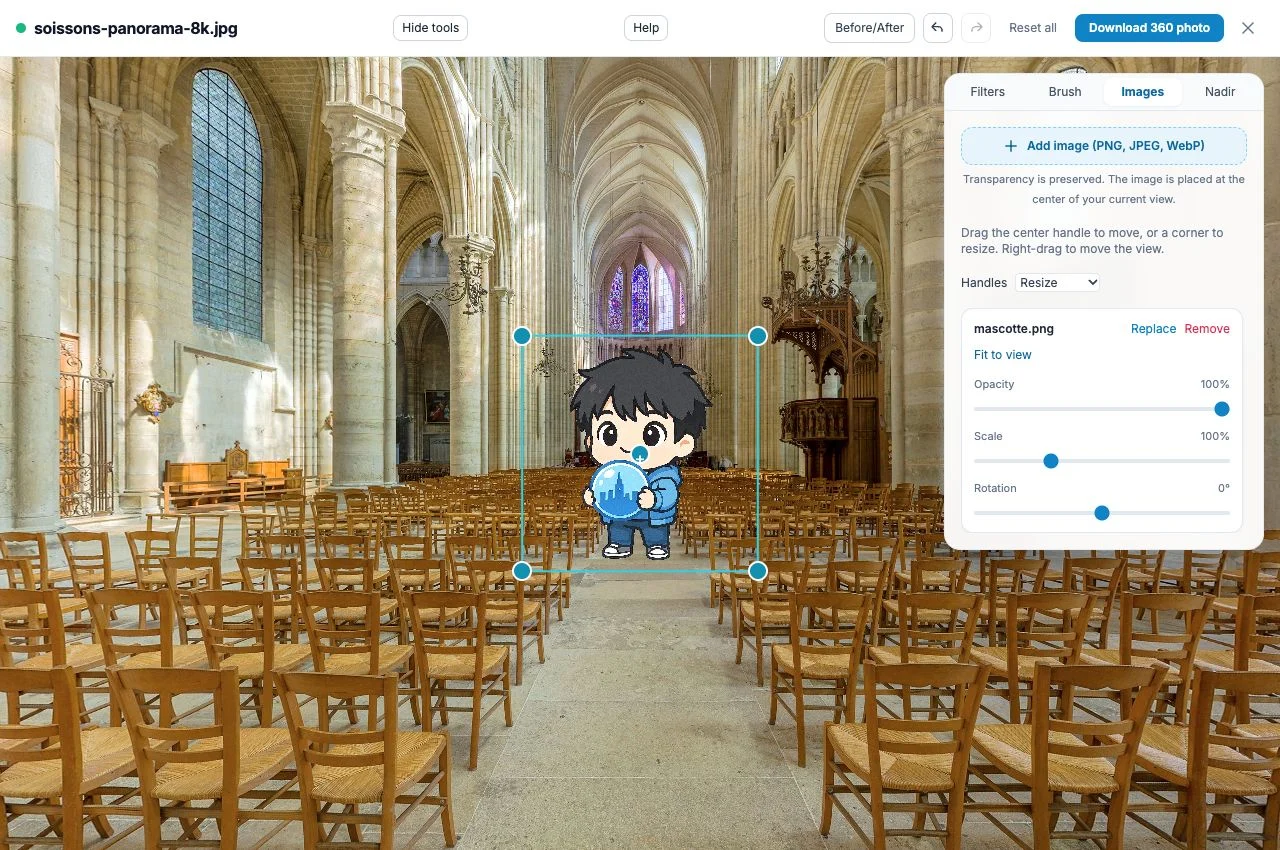
A transparent graphic placed in the actual editor. Background photo: DAVID ILIFF, CC BY-SA 3.0, adapted.
Here the Mirame360 mascot makes the placement controls easy to see. For a finished photo, choose the size and position that suit your own scene, then look around to check how it sits in the panorama.
If you choose the wrong graphic, Replace swaps the image while keeping its position and perspective. Remove takes it out, and Fit to view helps bring it into the current view. The graphic becomes part of the downloaded photo; the JPEG isn't an editable layer project.
Soften the tripod area with nadir blur
The nadir is the point directly below the camera. In a 360 photo, it's where you may see the tripod, support or another distracting part of the capture setup.
Open Nadir, enable Blur the tripod area, then drag the view down to inspect the result. Adjust the radius to cover the area you want to soften. Opacity controls how much of the effect shows, and edge softness helps blend the boundary.
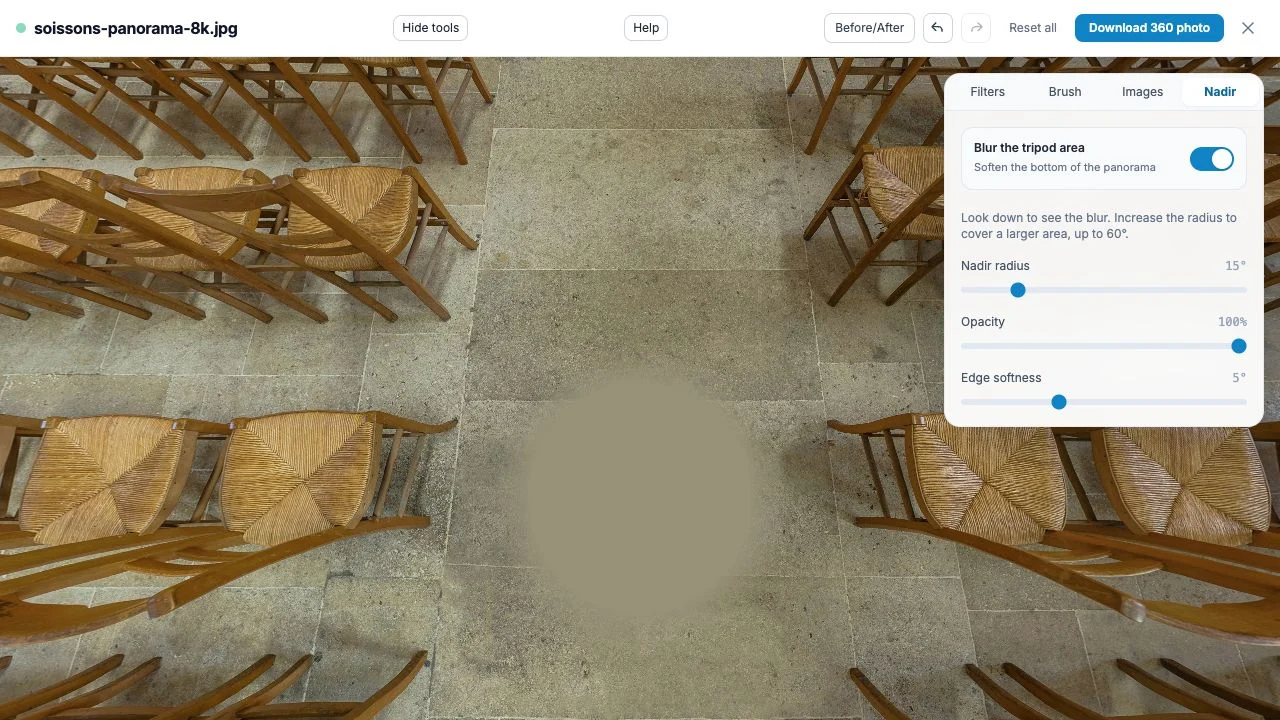
Live nadir-blur demonstration on the floor area. Photo: DAVID ILIFF, CC BY-SA 3.0, adapted.
The screenshot demonstrates the blur itself. It doesn't show a tripod being removed or a floor being reconstructed. The tool softens the existing pixels, so use a patch only as large as the photo needs. A huge blurred circle can become a distraction of its own.
Download a finished 360 photo
Before downloading, take one last look around the scene. Check the brighter areas, any brush work, your graphic placement and the bottom of the panorama. Hold Before/After if you want another look at the source.
Then:
- Choose Download 360 photo.
- Keep the editor open while it renders the export.
- Save the new JPEG and keep your original capture separately.
- Open the result in a compatible 360 viewer and look around before sharing it.
The editor downloads a JPEG at the original image dimensions with GPano panorama metadata. During preparation of this guide, an 8192 × 4096 example was downloaded and its dimensions and GPano metadata checked. Export time depends on the photo and device; large panoramas can take a while.
Those tags help compatible services recognize the image, but each destination still has its own upload behavior. If Facebook displays the finished photo flat, the guide to Insta360 photos not working on Facebook walks through the export, metadata and upload checks.
Edit locally, then decide where to share
On the public editor page, the photo and added graphics are processed on your device. Downloading the result doesn't publish it to Mirame360.
If you already host a ready 360 image on Mirame360, its owner can open it from My Media and choose Edit 360 photo. That version also offers Save and replace, which uploads the edited photo for processing and review while retaining its existing media links, tour connections and hotspots.
For your first session, keep it simple: open a panorama, make one useful adjustment and download it. When you're ready to let other people look around the finished scene, create a Mirame360 account and share it through an interactive viewing page.