You can create a 360 virtual tour for your Airbnb property, but you cannot currently upload it to an Airbnb listing as an interactive, look-around experience. The practical workflow is to shoot equirectangular panoramas, connect them in a tour platform, and publish the tour on channels you control while keeping the Airbnb listing itself native and policy-compliant.
A virtual tour is a set of 360-degree scenes linked with clickable navigation points, so a viewer can turn around and move from room to room. That is different from Airbnb's feature called a “photo tour,” which organizes ordinary listing photos by room.
Does Airbnb Support 360 Virtual Tours?
As of August 1, 2026, Airbnb's public host documentation describes a photo gallery and an AI-organized photo tour. Hosts upload still photos, assign them to rooms or spaces, and reorder the first five images shown on the listing cover. Airbnb recommends a minimum resolution of 1024 × 683 pixels. The documentation does not offer an interactive 360 viewer, panorama field, virtual-tour embed, or video gallery for a home listing.
That makes the short answer simple: Airbnb does not provide a documented native way to add a navigable 360 virtual tour to a home listing today. An equirectangular JPEG may upload as an image, but without a 360 viewer it will appear stretched and flat. That is not a useful substitute.

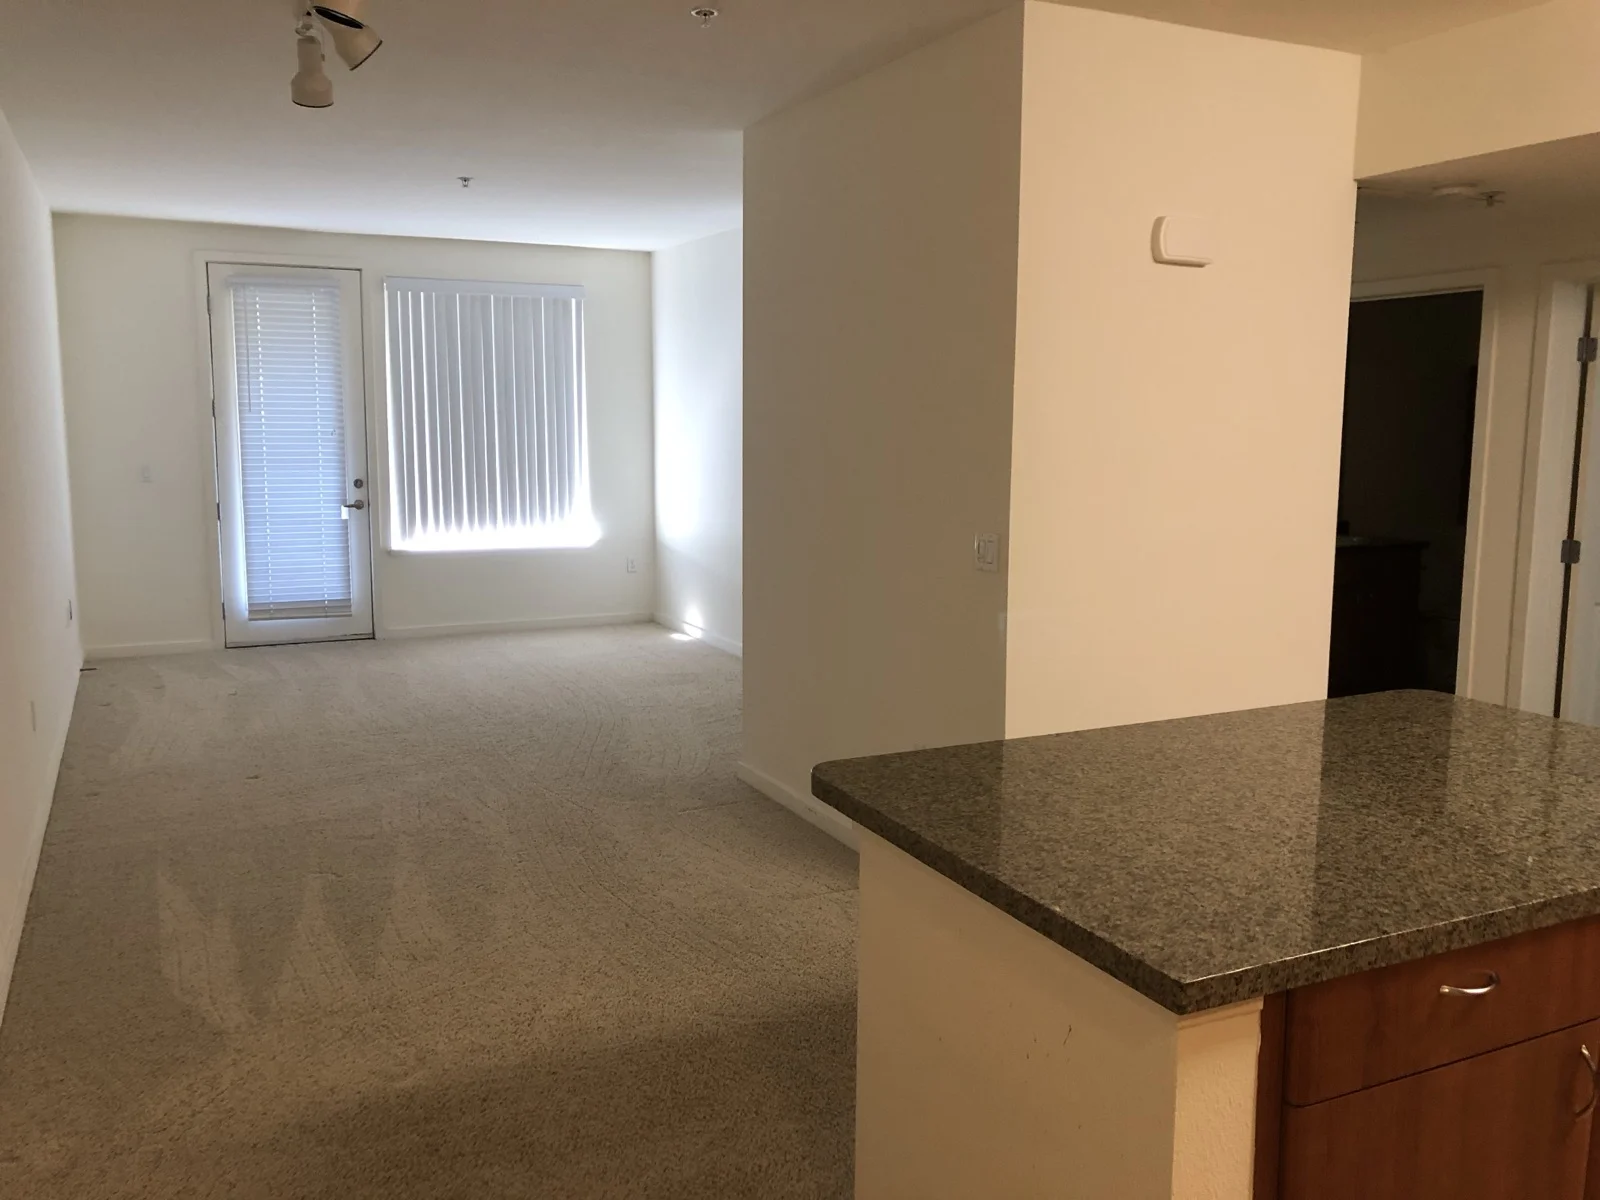
Photo: Chris Olszewski, CC BY-SA 4.0, via Wikimedia Commons.
Do not put a tour URL or QR code in the Airbnb listing
Older forum posts often recommend pasting an external tour URL into the description or uploading a QR code as a listing photo. That advice is now a policy risk. Airbnb's current Off-Platform and Fee Transparency Policy prohibits links that take people away from Airbnb in listings or messages. A QR code that opens an external tour serves the same purpose, so it is not a workaround to rely on.
The safe publishing options are your own direct-booking website, a property-management website, an owner portfolio, or other marketing channels you control. Keep reservations originating on Airbnb inside Airbnb. If you also take direct bookings, embed the tour on that separate site and make the booking path unambiguous.
Airbnb does allow photo and video attachments in messages after a reservation is confirmed. Its current messaging guide limits video attachments to 60 seconds. A short arrival or appliance video can help a booked guest, but it is not an interactive tour and it does not cancel the rule against off-platform links.
How to Create a Virtual Tour for an Airbnb Property
Here is the complete workflow in six steps:
- Prepare and light every guest-accessible room.
- Capture a level 360 photo from each useful viewing position.
- Stitch and inspect the panoramas in a 2:1 equirectangular format.
- Upload the scenes to a virtual-tour host.
- Connect rooms with clear, directional hotspots.
- Test the tour on a phone and desktop, then publish it on an owned website or another policy-compliant channel.
The camera matters, but placement and consistency matter more. A costly camera cannot rescue a cluttered room, a tripod reflected in every mirror, or navigation that sends viewers through the wrong door.
Choose the Right Equipment
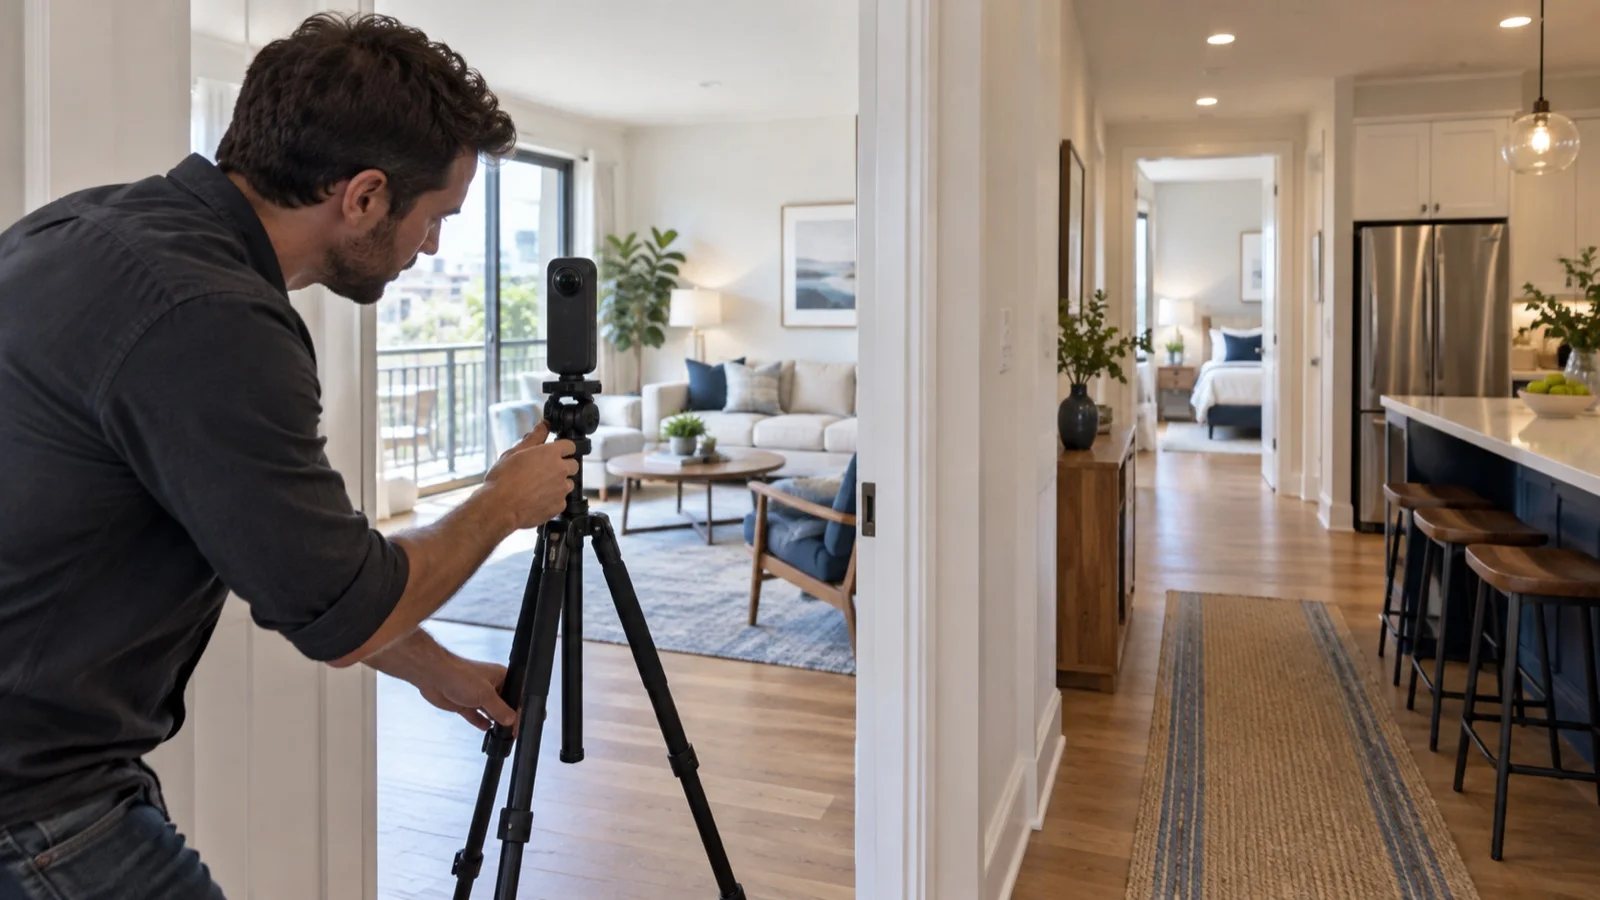
A compact dual-lens 360 camera is the fastest DIY option. Add a slim monopod or light stand with a small footprint, plus a remote trigger or self-timer. Broad tripod legs are easy to see at the bottom of the panorama and take longer to retouch.
Convenient option: Insta360 X4
The official Insta360 X4 specifications list 72-megapixel and 18-megapixel 360 photo modes, a 1/2-inch sensor size, HDR photo, DNG support, and exposure compensation up to ±4 EV. It is an action-oriented camera, but its simple capture workflow makes it a practical tool for a host who also wants travel or video use. Export the stitched panorama from the Insta360 app or Studio rather than uploading the camera's proprietary INSP file to a generic web player.

Camera photo: Viveka Ravichandran V, CC0 1.0, via Wikimedia Commons.
Image-quality option: Ricoh Theta Z1
For interiors with bright windows and darker corners, the Ricoh Theta Z1 remains relevant because it has two 1-inch back-illuminated CMOS sensors and captures RAW DNG files. Ricoh's manual lists 7296 × 3648 RAW and 6720 × 3360 JPEG stills, with selectable apertures of f/2.1, f/3.5, and f/5.6. Those controls offer more room for careful interior editing than an automatic-only workflow.
Do not buy from an old article's price table. Camera prices, bundles, regional taxes, and product availability change; compare current manufacturer and authorized-dealer listings on the day you purchase. Renting or borrowing a compatible camera is often the sensible first test for a single property.
Shoot the Property Room by Room
Start with the same preparation you would use for strong listing photography. Clean reflective surfaces, hide cables and bins, straighten bedding, switch on working lamps, and remove personal documents or family photographs. Open curtains when the exterior view is a selling point, but watch the highlights around windows.
Place the camera around chest height in a position a guest could naturally stand. Keep it away from door frames, chair backs, lamps, and other nearby objects; anything extremely close to one lens can create visible stitching or parallax errors. In a simple bedroom, one central viewpoint may be enough. A large or L-shaped living area usually needs another scene so that no important space is hidden around a corner.
Use a remote or a short self-timer, then step into the next room and close the door if that reflects the real layout. Lock white balance across connected rooms when the light is stable, and avoid changing exposure wildly between adjacent scenes. The transition should feel like walking through one property, not jumping between unrelated photo shoots.
A practical capture checklist:
- Photograph every room and outdoor area that guests are entitled to use.
- Add a second viewpoint where the room's shape or furniture blocks visibility.
- Keep doors in a consistent position so hotspot destinations make sense.
- Check mirrors, windows, televisions, and glossy appliances for the photographer.
- Capture closets only when their size or contents genuinely matter.
- Do not use extreme editing that makes a room look larger or brighter than guests will find it.

Camera photo: Kristian Stöckel, CC BY-SA 4.0, via Wikimedia Commons.
Community discussions among real-estate photographers repeatedly surface the same avoidable problems: large tripod feet at the nadir, unreliable phone triggering, inconsistent color in warm hallways, and visible seams around close furniture. Use the timer if the app becomes sluggish, inspect the bottom of every image, and retouch small stand remnants without changing the property's structure.
Stitch, Edit, and Export the Panoramas
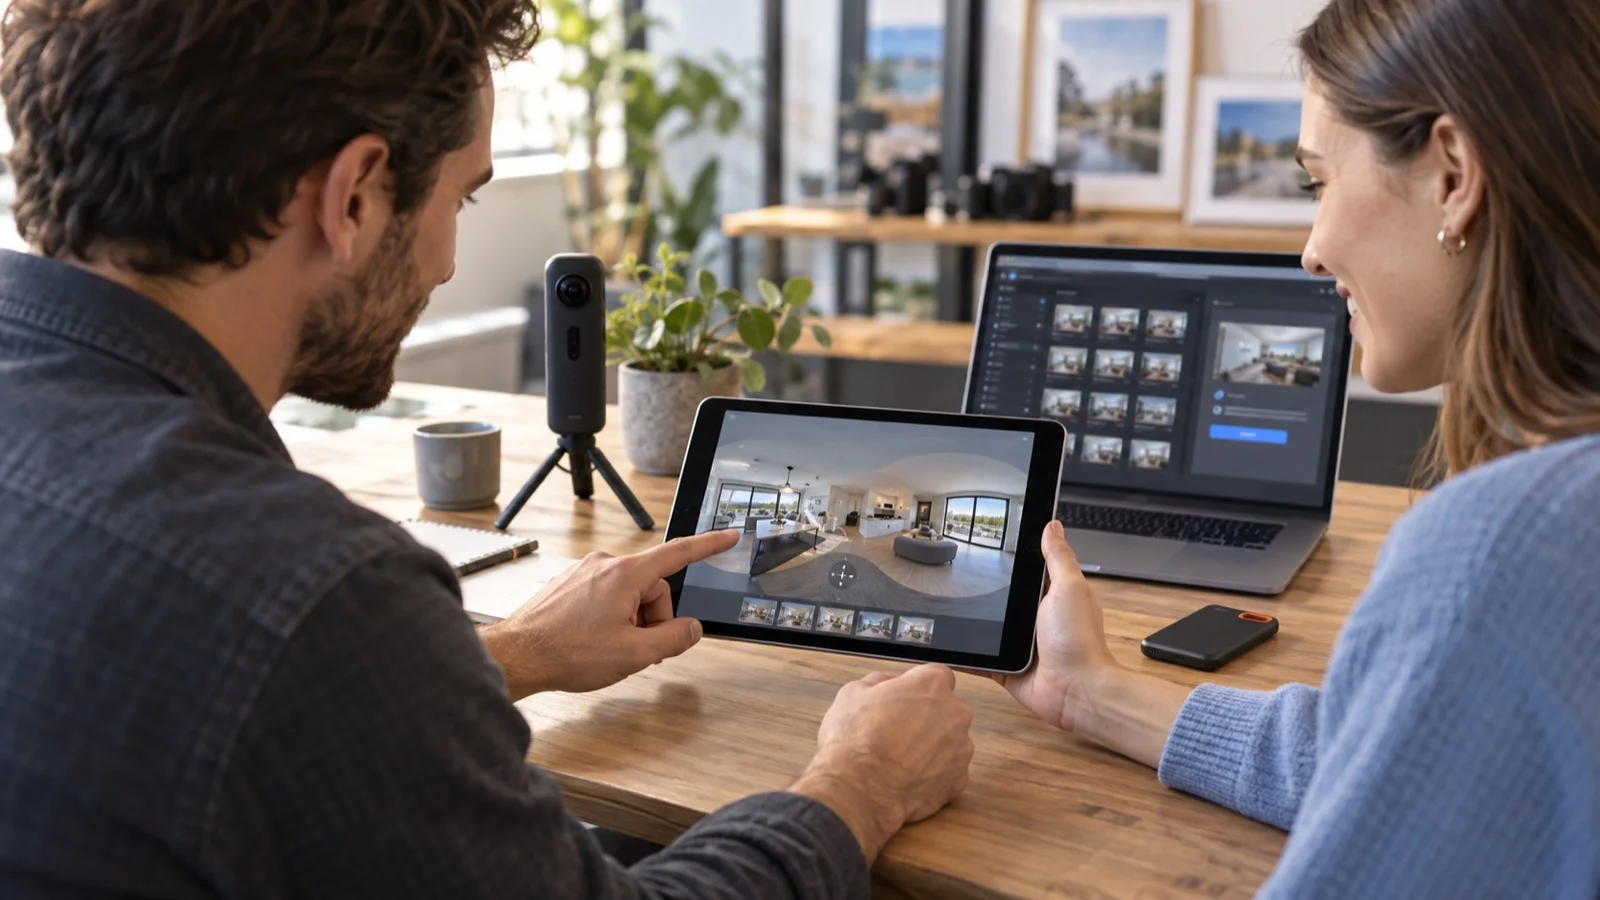
Many dual-lens cameras stitch automatically in their mobile or desktop software. Inspect the full sphere, not just the default forward view. Rotate through the seam line, look straight up and down, level the horizon, and correct color casts across the entire image.
Export a full-sphere equirectangular panorama at a 2:1 aspect ratio. Mirame360's current FAQ accepts panoramic photos in JPEG, PNG, and WebP and recommends the 2:1 frame for correct playback. JPEG is usually the simplest delivery format for photographic interiors; keep a higher-quality master separately before creating a web-sized copy.

Panorama: Jürgen Matern, CC BY-SA 4.0, via Wikimedia Commons. The five-frame image demonstrates the flat 2:1 file a 360 viewer turns into an interactive sphere.
Keep filenames plain and descriptive: living-room.jpg, kitchen.jpg, primary-bedroom.jpg, and terrace.jpg are easier to manage than camera-generated numbers. Before uploading, check that a normal image viewer shows a wide 2:1 rectangle. That odd-looking rectangle is correct; the tour player supplies the spherical projection.
Build and Host the Tour on Mirame360
The current Mirame360 upload and tour guide describes the workflow: upload each equirectangular panorama, create a tour, add the panoramas as scenes, choose the opening scene, and place clickable points that lead to destination scenes. Scene connections are not automatic. If you do not add connectors, enable the scene list so viewers are not trapped in the first room.
Use hotspot labels that answer a navigation question: “Kitchen,” “Upstairs,” or “Terrace” is clearer than “Next.” Point the hotspot toward the actual doorway and create a return link in the destination room. Start in the strongest orientation of the strongest room, but do not hide awkward circulation or omit a space shown in the booking description.
Test all of this before sharing:
- Every hotspot opens the intended room.
- Every room offers a way back.
- The initial view is level and faces a useful feature.
- Text and controls remain usable on a phone.
- Panoramas load on a normal mobile connection.
- The tour's public or unlisted access setting matches its intended audience.
Mirame360's public pricing FAQ does not currently state a verified price, so check the plan shown in your account instead of assuming that hosting is free or unlimited. This is also why a trustworthy cost comparison should separate the camera, support, editing time, professional labor, storage, and bandwidth rather than promise one universal total.
Where the Tour Can Actually Help
A tour is most useful when guests need to understand layout: an unusual staircase, a split-level home, interconnected bedrooms, a compact studio, accessibility constraints, or the distance between an outdoor space and the main living area. It can reduce uncertainty on an owned direct-booking page and give property managers a reusable walkthrough for qualified prospects.
There is no authoritative public Airbnb study establishing that a 360 tour increases booking conversion by 12% or triples dwell time. Do not publish those figures as fact. Airbnb does report that, across more than 14,700 global listings studied from 2024 to 2025, listings using its professional photography program saw an average 21% increase in host earnings and a 19% net uplift in bookings over the next 365 days. Airbnb also says results vary and are not guaranteed. Those figures support investing in accurate visual presentation; they do not isolate the effect of virtual tours.
Measure your own result on the website where the tour is allowed. Track tour opens, completed room transitions, clicks toward booking, and questions about layout before and after launch. A tour that receives views but leaves common questions unanswered needs better scene placement or labels, not a more dramatic conversion claim.
FAQ
Can I upload a 360 virtual tour directly to Airbnb?
No documented native 360 viewer is available for home listings as of August 1, 2026. Airbnb's “photo tour” is a room-organized gallery of regular still images, not an interactive panorama tour.
What is the cheapest way to make one?
Use or rent a compatible 360 camera, a slim stand, and the manufacturer's stitching software before buying a premium setup. Hosting costs and limits change, so confirm the current plan rather than relying on an old fixed price.
Where should I put the virtual-tour link?
Put it on an owned direct-booking or property website and on other marketing channels whose rules permit external links. Do not paste it into an Airbnb listing or message, and do not disguise it as a QR-code listing image; Airbnb's current off-platform policy prohibits links that take users away from the platform.
How many 360 photos does an Airbnb tour need?
Use at least one useful scene for every guest-accessible room or space, then add viewpoints where corners or furniture hide important features. There is no universal “8–12” rule; layout determines the number.
Is a virtual tour worth it for one property?
It can be, especially for a distinctive or hard-to-explain layout and when you have an owned website where prospective guests can view it. Start by renting or borrowing equipment, publish one complete tour, and measure engagement before committing to a larger camera or hosting plan.
Give Guests a Clear, Honest Walkthrough
The best Airbnb virtual tour is not the flashiest one. It is level, easy to navigate, faithful to the property, and published where platform rules allow it. Capture each room carefully, export clean 2:1 panoramas, and build two-way connections that feel like a real walk through the home.
When your scenes are ready, create a Mirame360 account and use the interactive tour guide to connect your first rooms. Then embed the finished tour on a website you control, leaving your Airbnb listing accurate and compliant.
Policy note: Airbnb Help Center pages were reviewed on August 1, 2026. Those pages do not display a publication date, so recheck the off-platform policy before changing how you promote a tour.