
Documentation
How to edit a 360° photo for free
Fix the light, hide the tripod and add your logo to an equirectangular photo, without installing anything. This guide follows the free Mirame360 photo editor step by step. Your photo stays on your computer.
Watch: edit a 360° photo in about three minutes
1. Open the editor and choose your photo
Open the photo editor on a computer. It is free, needs no account, and the photo never leaves your device: all the editing happens in your browser.
Drop your panorama on the page or choose Browse files. The photo must be equirectangular, which means twice as wide as it is tall (2:1), as a JPEG, PNG or WebP. The first time, a short guide explains the tools; click Start editing.
2. Look around and compare
Drag to look around the full sphere and scroll to zoom. Your original file is never changed, so you can experiment freely. At any time, hold Before/After to see the original photo, and release it to bring your edit back.
3. Adjust light and color
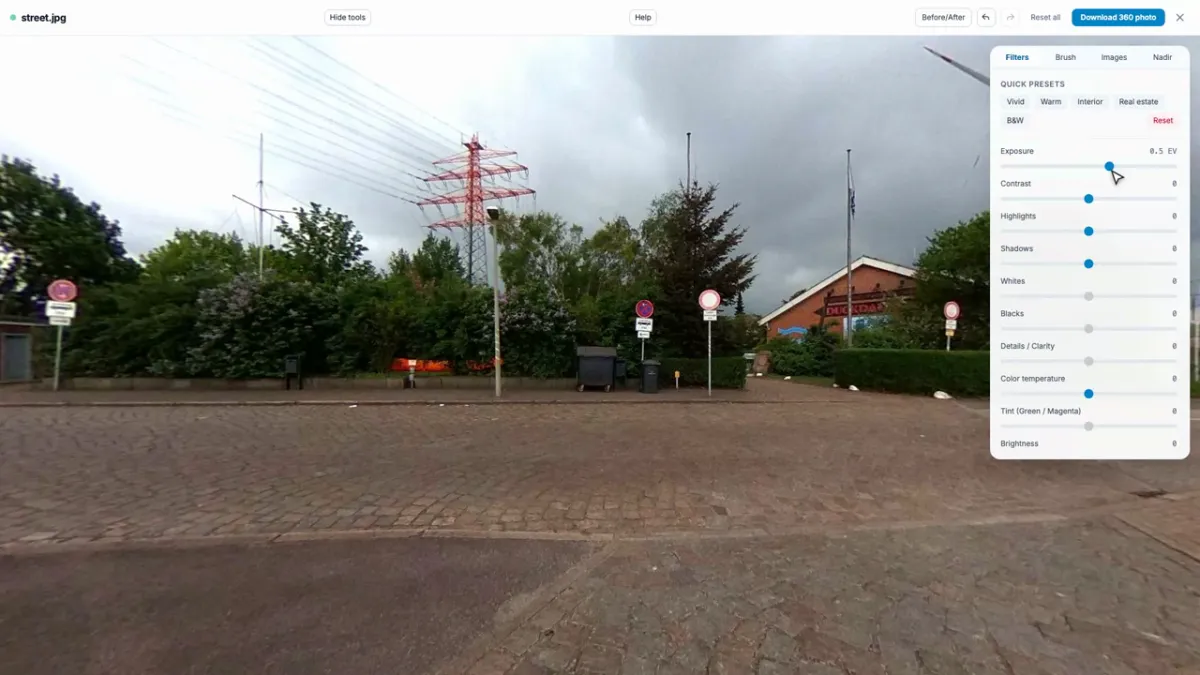
The Filters tab adjusts the whole photo and every slider updates it in real time. For a fast result pick a quick preset, such as Vivid or Real estate. To fine-tune it yourself, use the sliders for exposure, highlights, shadows, whites, blacks, temperature, saturation and details.
The horizon leveling slider, at the bottom of the list, rotates the sphere so a crooked horizon becomes straight.
4. Retouch with the brush
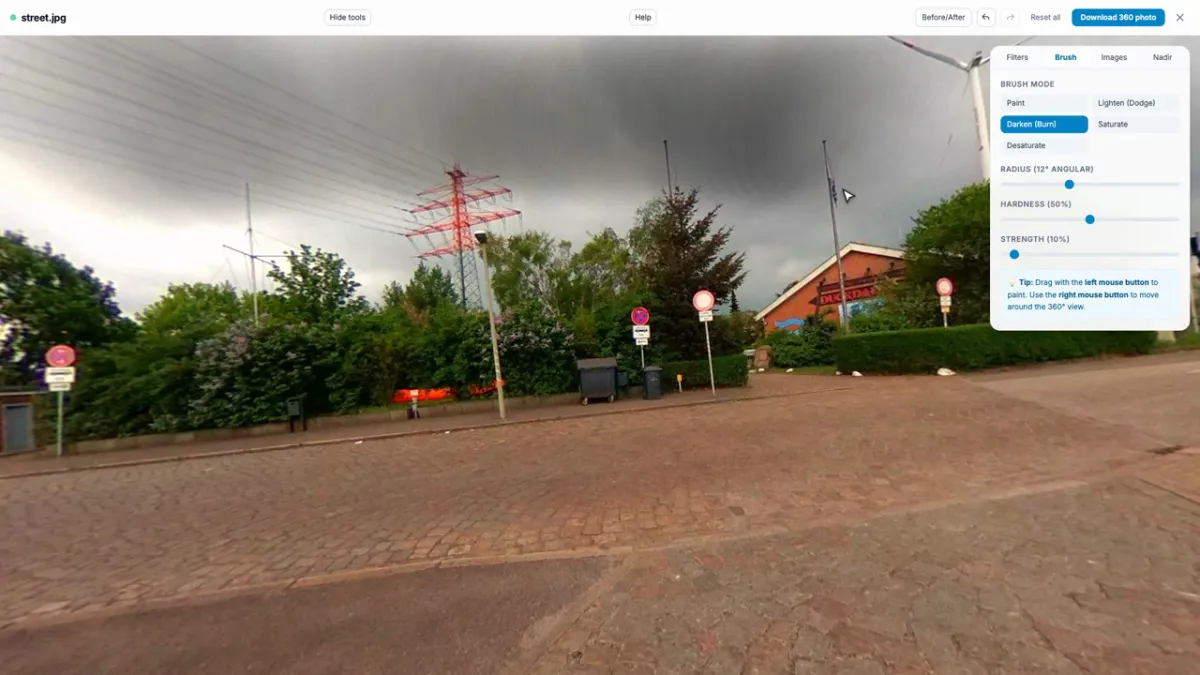
The Brush tab changes only the part you paint over. Choose a mode, such as Darken or Lighten, set the radius, hardness and strength, and paint directly on the photo. Painting uses the left mouse button; use the right button to move around the view while the brush is active.
5. Hide the tripod with nadir blur
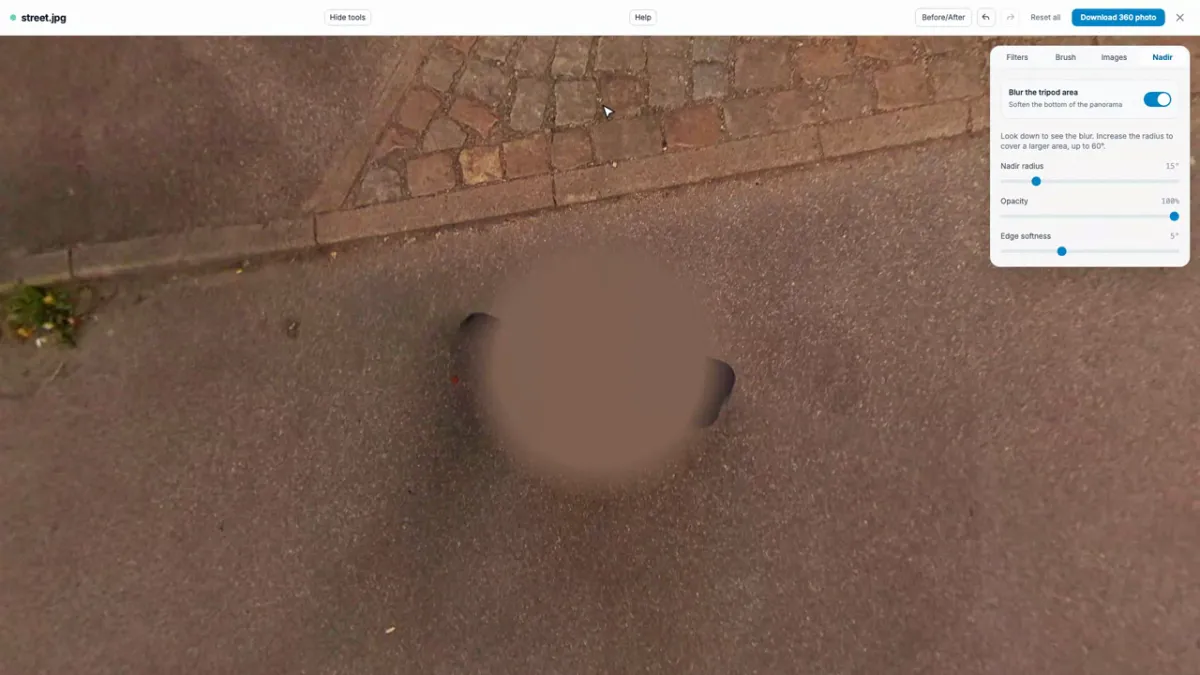
The tripod shows at the bottom of the panorama, called the nadir. Open the Nadir tab, turn on the blur and look down to see it. Increase the radius (up to 60°) to cover more area and soften the edge so the blur blends in naturally.
6. Add a logo or an image
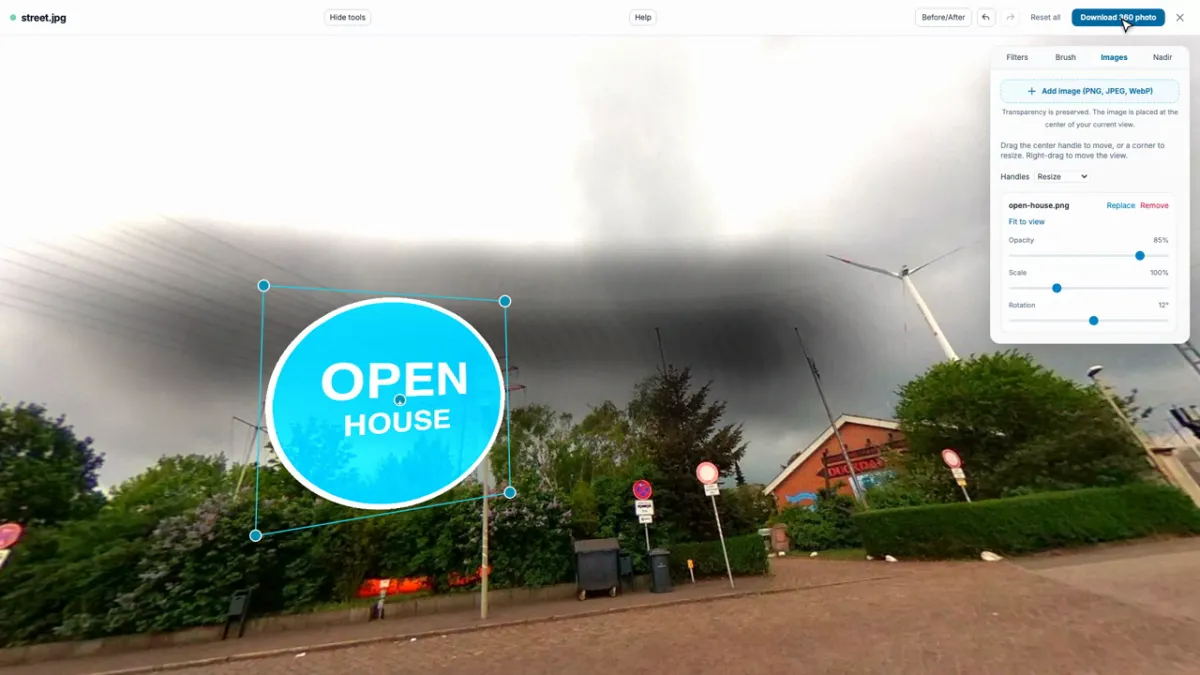
In the Images tab, click Add image and choose a transparent PNG, such as a logo, a sign or a cover for the tripod. Drag the center handle to move it and a corner to resize it. You can also change its opacity and rotation, and use the perspective mode to match the surface it sits on.
7. Download the edited photo
Made a mistake? Undo and Redo are at the top, and Reset all brings everything back to the original photo. When you are happy, click Download 360 photo. You get a new JPEG that keeps its 360 metadata, so it still opens as a panorama everywhere.
Next, upload it to Mirame360 to share it, embed it in your website or add it to a virtual tour.
If something does not work
- The photo is not accepted: it must be a JPEG, PNG or WebP with a 2:1 ratio. Crops and normal wide photos are not equirectangular.
- The editor asks for a computer: the editor needs a screen and a mouse. Open it on a desktop or laptop.
- The edited photo looks flat in another app: run it through the Metadata Doctor to add the 360 metadata back.
- Your edit is gone after closing the page: the editor works on your device and does not keep your edit on a server. Download the photo before you close the editor.
Sample photo in the screenshots: "Seemannsclub Duckdalben Umgebung" by Uwe Rohwedder, CC BY-SA 4.0, via Wikimedia Commons.