
Documentation
How to edit a 360° video for free
Trim a 360° video, guide the camera, add a title and music and export it, without installing anything. This guide follows the free Mirame360 video editor step by step, from a file on your computer or from a video already in your account.
Watch: edit a 360° video in about two and a half minutes
Watch: edit a video from My media
The second video starts from a video already uploaded to your account and ends by publishing the edit back to it.
1. Open the editor
Open the video editor and click Open the video editor. It works on desktop Chrome or Edge, it is free, and your videos are never uploaded: everything runs inside your browser.
2. Import your clips
In the Media panel, click Import and choose one or more stitched 360° MP4 files. Each file appears as a card with its resolution and duration. The first video is placed on the timeline for you; to add another, drag its card onto the timeline after the first clip. In the preview, drag to look around inside the video and press play or the space bar to watch it.
3. Cut and trim
Move the playhead to the right moment and click Split. Select the part you do not want and delete it; the timeline closes the gap. You can also drag the edges of a clip to trim it.
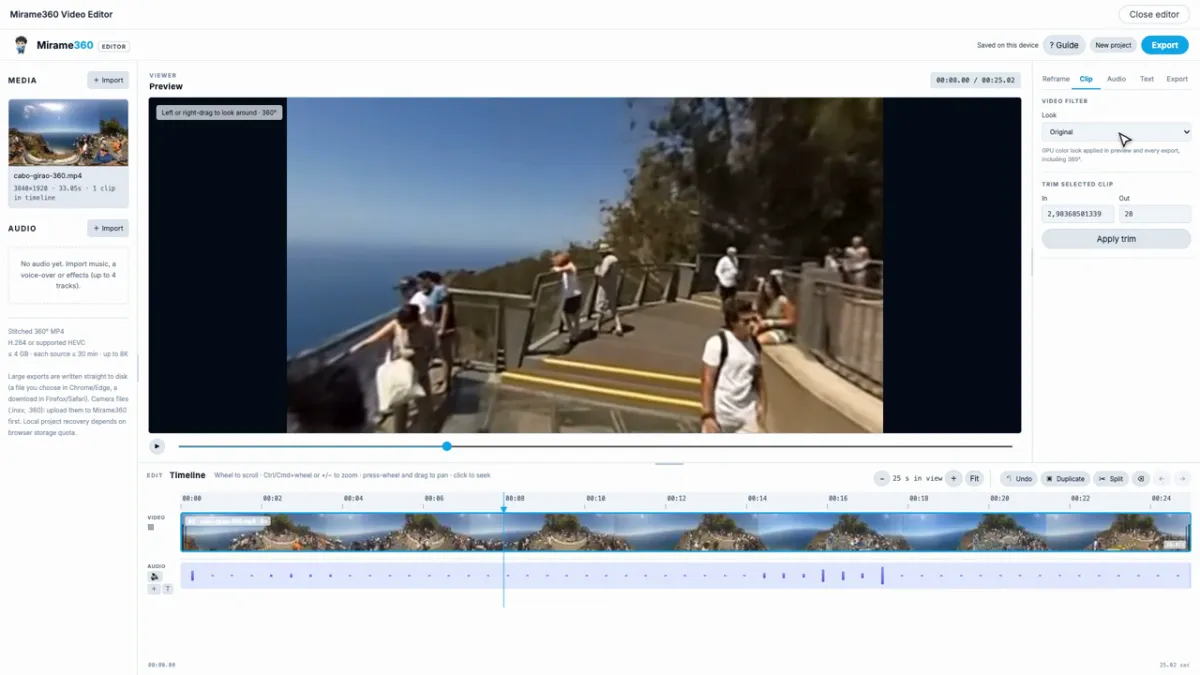
For an exact cut, select the clip, open the Clip tab and use the Trim section: In and Out are the start and end points in seconds, taken from the original file. Click Apply trim. The Undo button above the timeline brings back the previous state.
4. Guide the camera with keyframes
Open the Reframe tab, turn the view where you want it and click Add keyframe. Move forward in time, turn the view again and add another keyframe. The camera glides smoothly between them, which is ideal for flat exports (16:9 or vertical), where the viewer cannot look around.
5. Choose a color look and add crossfades
In the Clip tab, the Look menu gives each clip a color look: Original (untouched), Vivid, Warm, Monochrome or Soft film. It is applied to the preview and to every export, including the 360° one.
Between two clips there is a small junction button. Click it to add a crossfade and drag it to make it longer or shorter. The sound crossfades too.
6. Add text on the sphere
Open the Text tab and click Add text at playhead, then type your words. The text is placed on the sphere, so it stays attached to that spot as viewers look around. You can change the font, size, colors and fades, and time it directly on the timeline.
7. Add music
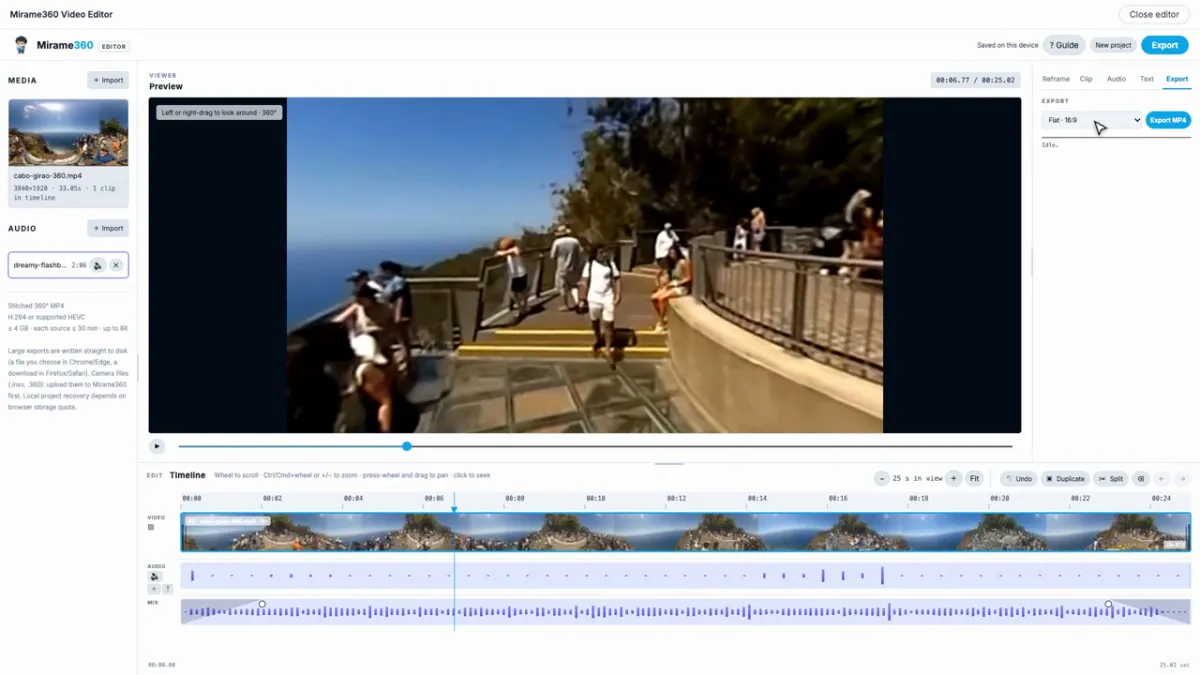
Move the playhead to where the music should begin, then under Audio click Import and choose a sound file. Select the track and open the Audio tab to set its volume, its start and the fade in and fade out; you can also drag the round handles on the track. The original sound of your video keeps playing underneath.
Only use music you have the right to use. Free tracks are often released under a Creative Commons license that asks you to credit the author in the video description.
8. Export
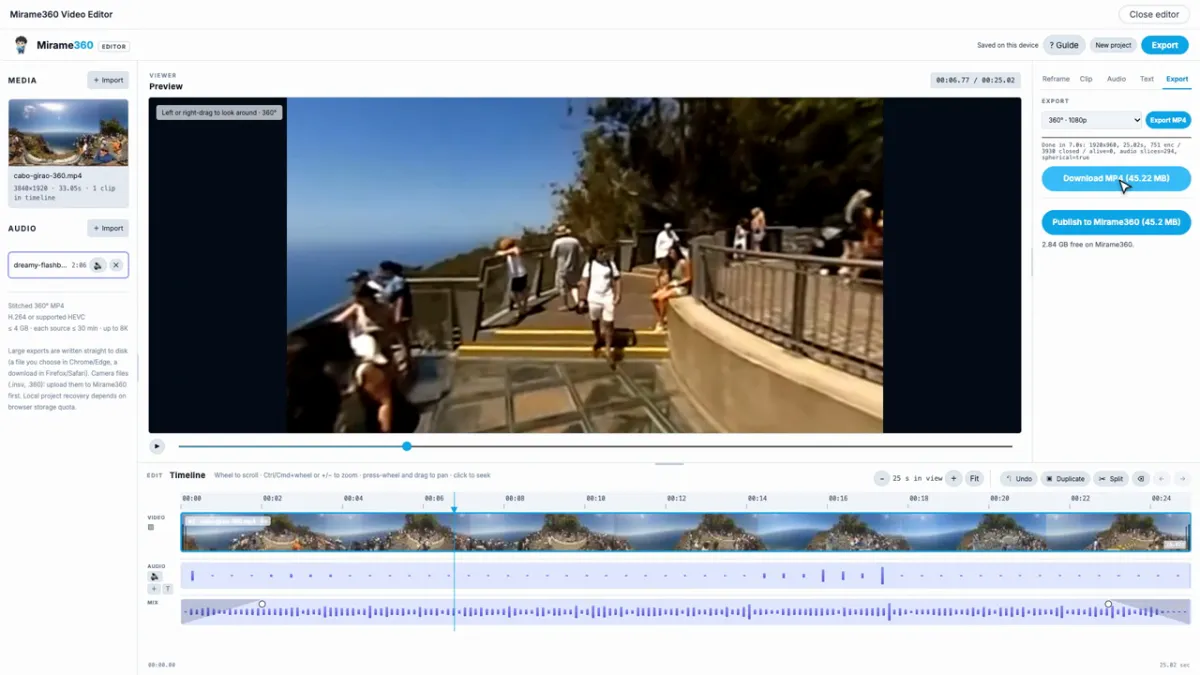
Open the Export tab and choose the format: flat 16:9 for YouTube, vertical 9:16 for Reels and Shorts, or the full 360° sphere in 2K, 1080p or 4K. Click Export MP4 and keep the tab open until it says Done. Your own computer does the work, so long videos take a while.
If you are logged in, a 360° export can be published straight to Mirame360 with Publish to Mirame360, to share or embed it.
Edit a video you already uploaded
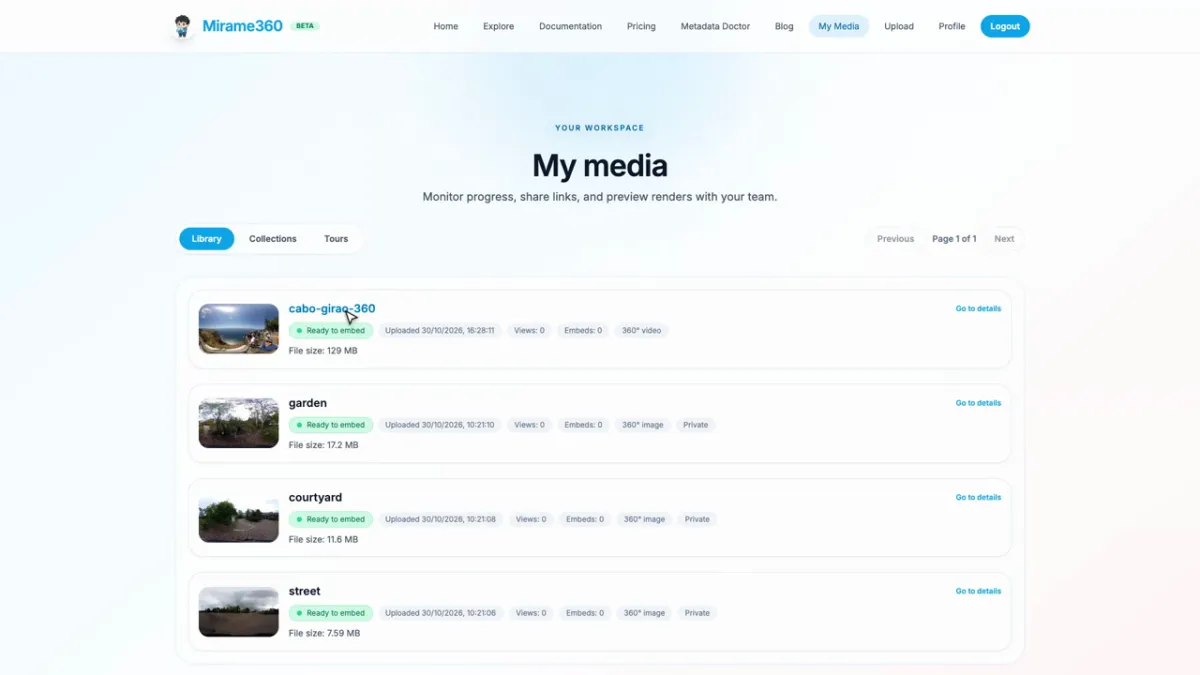
You do not have to import the file again. Open My media, click the video to open its page and click Edit in 360 video editor. Mirame360 sends a copy of the best quality available to the editor, so it can take a few seconds. Your original is never touched.
Edit it as above. When you export, click Publish to Mirame360: the edited video is uploaded to your account as a new video, while the original stays in My media. Once it is processed you can rename it in Details, make it public, copy the embed code or add it to a tour.
If something does not work
- The editor says the browser cannot encode video: use a recent desktop Chrome or Edge with a mouse; other browsers and phones cannot encode the video.
- The exported 360 video looks flat elsewhere: check it with the Metadata Doctor.
- The export stops or the tab was closed: keep the tab open and in front until it says Done; the work is done by your computer.
- Your camera file does not import: raw files (INSV, OSV, .360) must be exported as a stitched MP4 from the camera app first. See Video & photo formats.
Video in the screenshots: "Não veja este video 360 se tiver vertigens! Madeira - Cabo Girão" by Vasco Marques, CC BY 3.0, via Wikimedia Commons.