
Mirame360's new video tutorials show you how to upload, edit and share 360° photos and videos, build virtual tours, add hotspots and fix common metadata problems. Each tutorial is short, and the accompanying documentation gives you written steps you can follow at your own pace.
A 360° tutorial is most useful when it answers the task in front of you. Choose a video below, open the matching guide, and try it with one small file before working through a whole project. The full collection is also available in the Mirame360 how-to guide and on the Mirame360 YouTube channel.
Start here: upload and share your first 360° video
Watch: How to Upload a 360 Video to Mirame360 · 3:15
You have a video on your computer or phone and want a link someone else can open. This walkthrough starts with signing in, choosing a 360° video and following processing. It then shows how to make the result public and copy a link or embed code.
Pick a short clip for your first upload. Once it is processed, open the player and drag the view to check the whole scene. Before sending the link, check whether its visibility matches what you intend to share. The written upload guide covers the same journey if you prefer to read the steps.
Create a virtual tour from 360° photos
Watch: How to Create a Virtual Tour from 360° Photos · 3:38
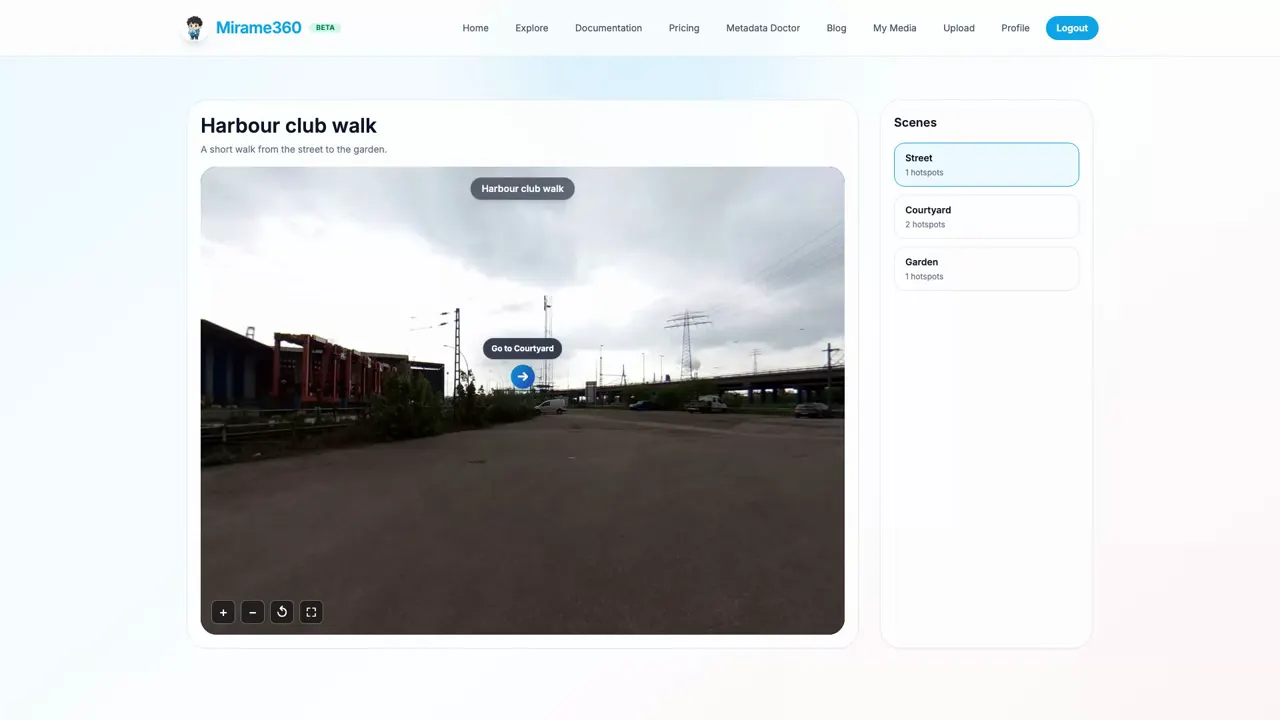
A virtual tour connects multiple 360° scenes so visitors can move from one viewpoint to another. The video follows a small tour from adding scenes to placing navigation and information points, previewing the result and sharing it.
You don't need a large property to try this. Start with two or three panoramas, give the scenes recognizable names and connect the viewpoints in a sequence that makes sense. Preview the route in both directions: a visitor who can enter a room should also know how to leave it. The virtual tour guide has the written instructions.
Add information to a single panorama
Watch: How to Add Info Hotspots to a 360 Photo · 1:34
You can add useful context without building a full tour. This tutorial shows how to add an information hotspot with a title, description and link to a photo. Use it to label a feature in a venue, point out something in a landscape or give visitors a relevant next step. The hotspot guide explains where to find the controls.
Keep labels short and check them inside the viewer. Place the point close enough to the feature that people can understand what it refers to, without covering the detail they came to see.
Edit a 360° photo in your browser
Watch: How to Edit a 360 Photo for Free · 3:19
This video covers the photo editor's filters and presets, retouching brush, tripod blur and logo placement, followed by downloading the edited panorama. It is a practical place to start if your photo needs a little work before you share it or add it to a tour.
The standalone photo editor runs in your browser, and the tutorial describes a workflow without an account or uploading the photo. Look around the entire sphere after making an adjustment. A change that helps the room can also affect a bright window, while a nadir edit deserves a look straight down before you download.
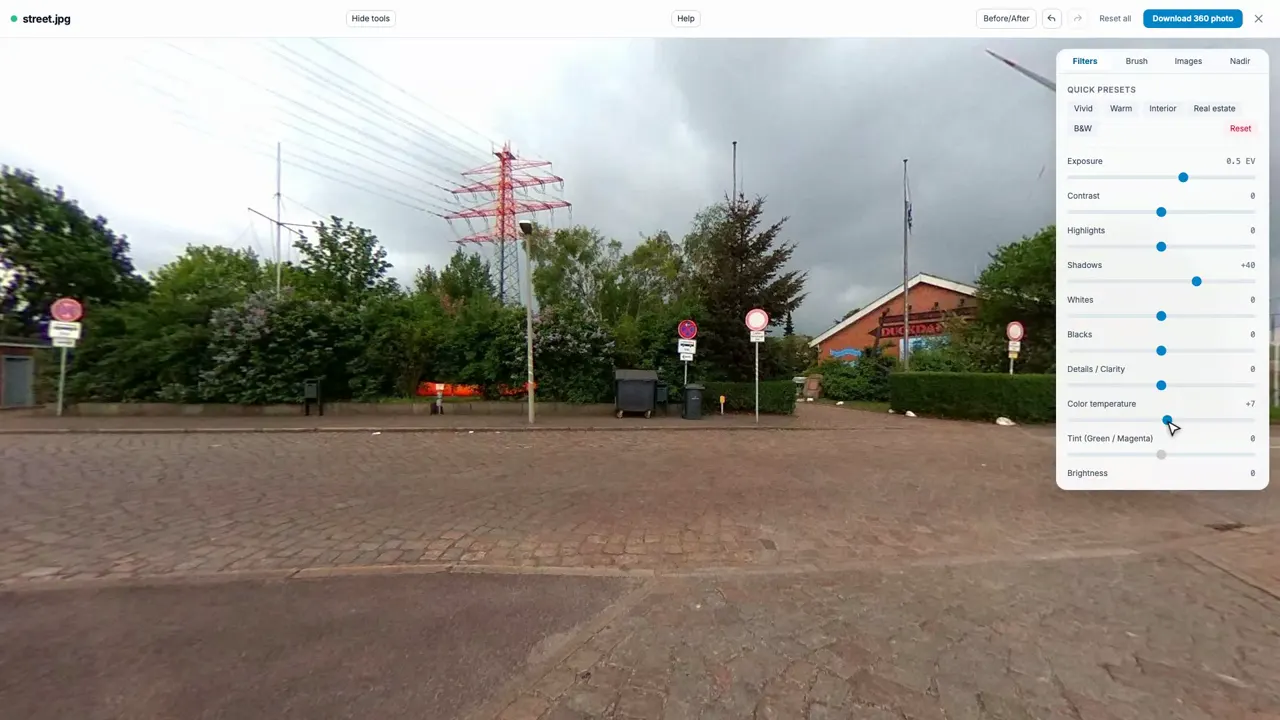
The photo editor guide provides written detail on the controls and the difference between downloading an edited copy and editing a photo already hosted in your account.
Cut, edit and export a 360° video
Watch: How to Edit a 360 Video for Free · 2:28
This quick introduction goes from importing and arranging clips to trimming, guiding the view with keyframes, adding looks, crossfades, text and music, and exporting. If you're learning the editor, try one cut and one export first. That makes it easier to see what each control changes.
When you export, decide what the viewer should receive. A full-sphere video lets people look around; a flat reframed video shows the view selected during editing. Check the format before starting the export and test the result in the player where you intend to use it. The video editor guide covers the workflow in more detail.
Already uploaded a video?
Watch: How to Trim, Color Grade and Add Music to a 360 Video · 4:35
This companion walkthrough starts with a video in My media. It shows how to open that recording in the editor, trim it, adjust its look, add music with volume and fades, and publish the edited result back to the account. Choose this video when your footage is already on Mirame360; use the first editor tutorial for the broader introduction.
Put an interactive 360° photo on your website
Watch: How to Embed a 360° Photo on Your Website · 3:12
A link sends someone to a viewing page. An embed places the interactive viewer inside a page of your own. This tutorial shows how to make the photo public, copy its embed code and add it to a website. After adding it, open the page on a phone and a computer and drag around the image to check that the player works where visitors will see it.
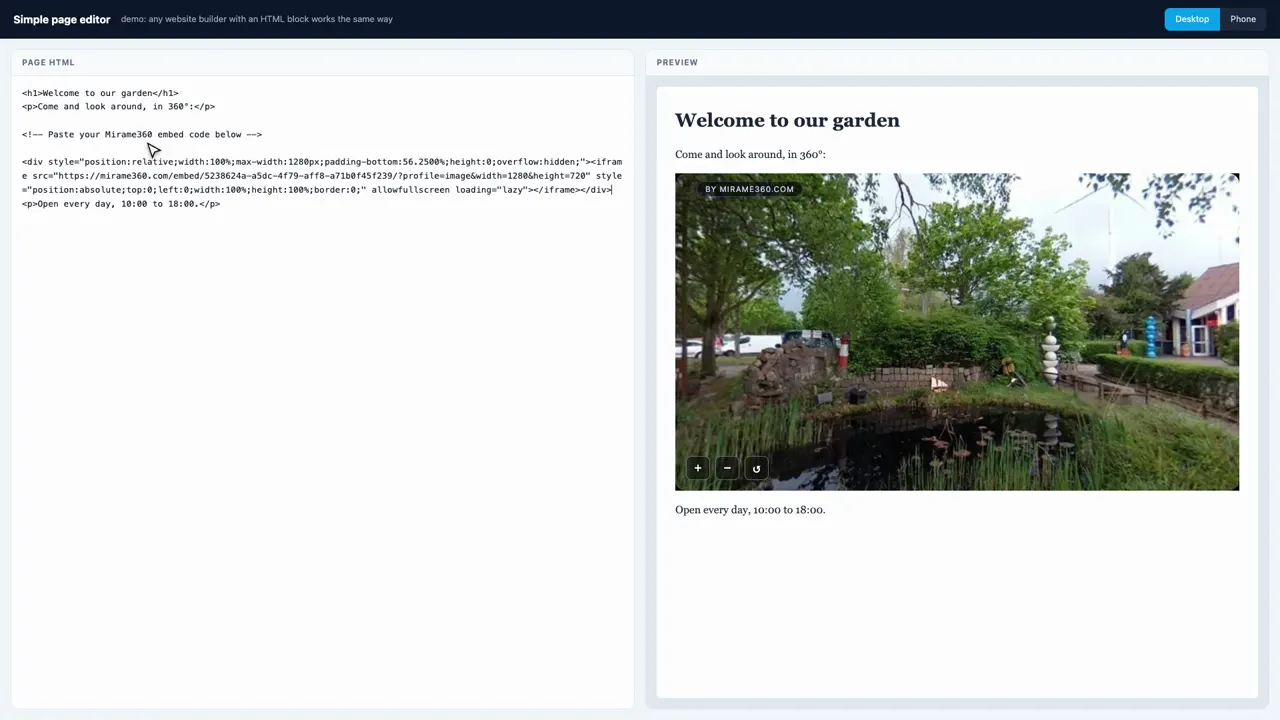
The embed guide covers sharing options and platform-specific instructions. Check the visibility of the source media if a visitor sees a missing or inaccessible player.
Using WordPress?
Watch: How to Add a 360 Photo or Video to WordPress · 1:55
The WordPress tutorial demonstrates the Mirame360 Embed plugin: install it, copy a link and place it in a block. It applies to supported photos, videos and virtual tours. Preview the WordPress page before sharing it, especially if your theme changes the width of embedded content on mobile.
Fix a flat 360° file or an incorrect date
Watch: Fix a Flat 360 Video or Photo and Its Wrong Date · 3:00
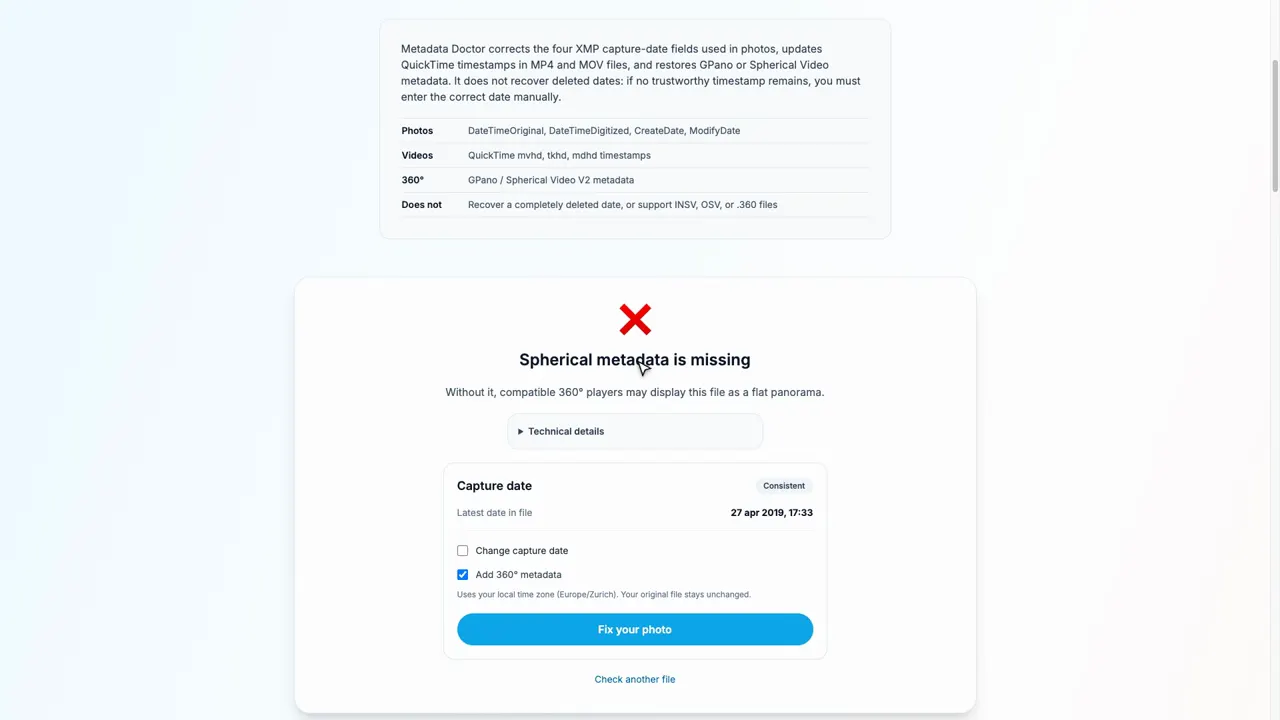
A panoramic file can contain the right scene but lack the metadata that tells a compatible viewer how to display it. A file can also appear under the wrong date in a library. These are separate problems, and Metadata Doctor can inspect supported files and offer appropriate corrections.
The tutorial demonstrates a browser-based workflow without an account, uploading the file or re-encoding the video. Keep the original and test the corrected copy in your intended destination. Adding spherical metadata cannot turn a cropped flat picture into a complete panorama, and a date that was removed from every source may need to be entered manually. See the Metadata Doctor guide for supported formats and limitations.
Which tutorial should you watch first?
- A file ready to share: start with the upload video, then the website or WordPress embed tutorial if you have a site.
- Several photos of one place: watch the virtual tour tutorial and add information hotspots where they help visitors.
- A panorama that needs a polish: use the photo editor walkthrough; check metadata if the result appears flat elsewhere.
- An existing recording to shorten: start with the video editor, or choose the My media tutorial if it has already been uploaded.
Keep the original media while you try a new workflow. For hosted projects, check the current account limits before uploading a large collection.
Choose one tutorial from the how-to collection, follow it with a short clip or a single panorama, and see the result for yourself. When you're ready to host and share your work, create a Mirame360 account and make your first interactive link.